In this tutorial, you will learn an amazing technique to resize an image without squeezing it in Photoshop.
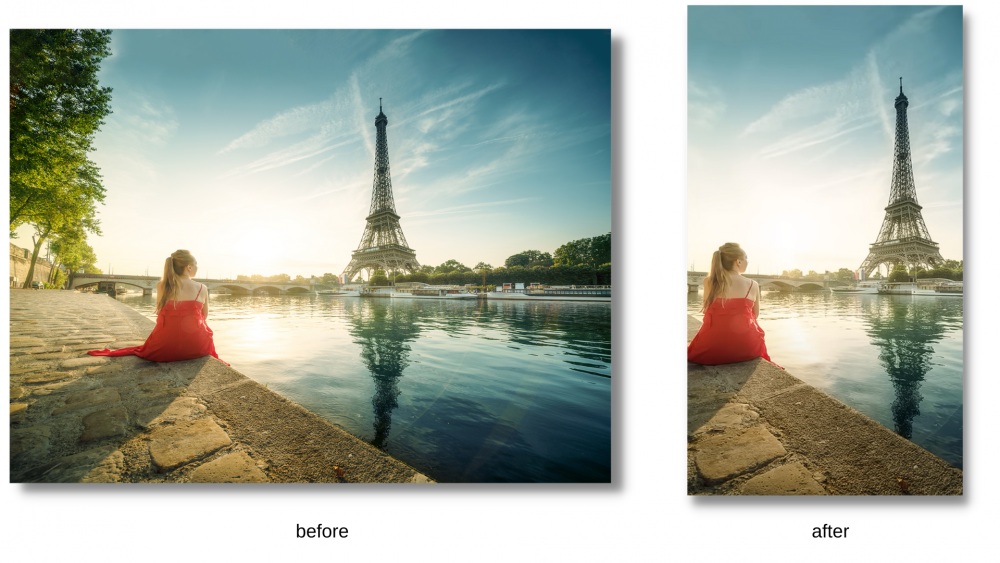
You might probably know how to extend your background image, but have you ever tried resizing a busy landscape photo into a 9:16 portrait aspect ratio without cropping important visual elements?
Now you don’t have to worry about ruining the quality of your image! Just follow this tutorial.
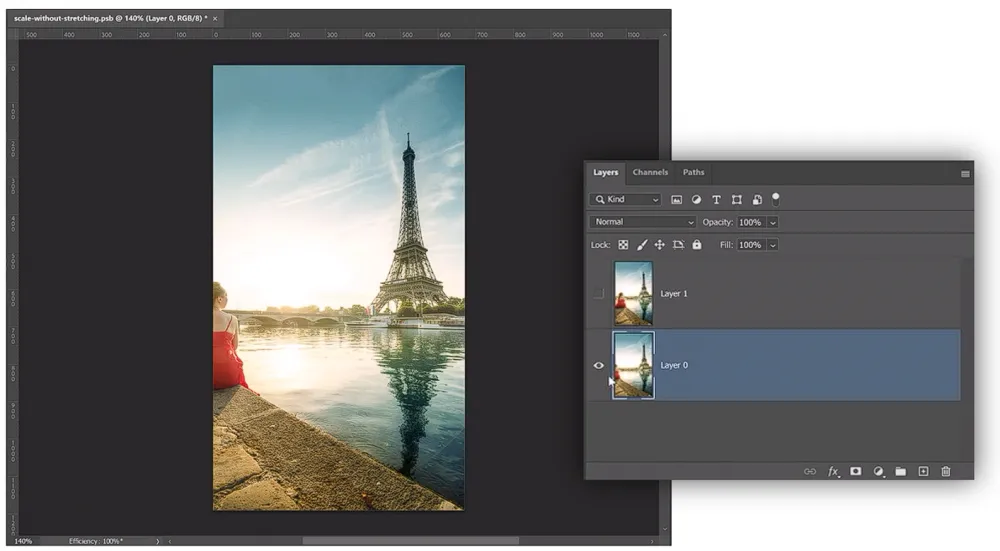
Step 01 – Duplicate the Photo to Work Nondestructively
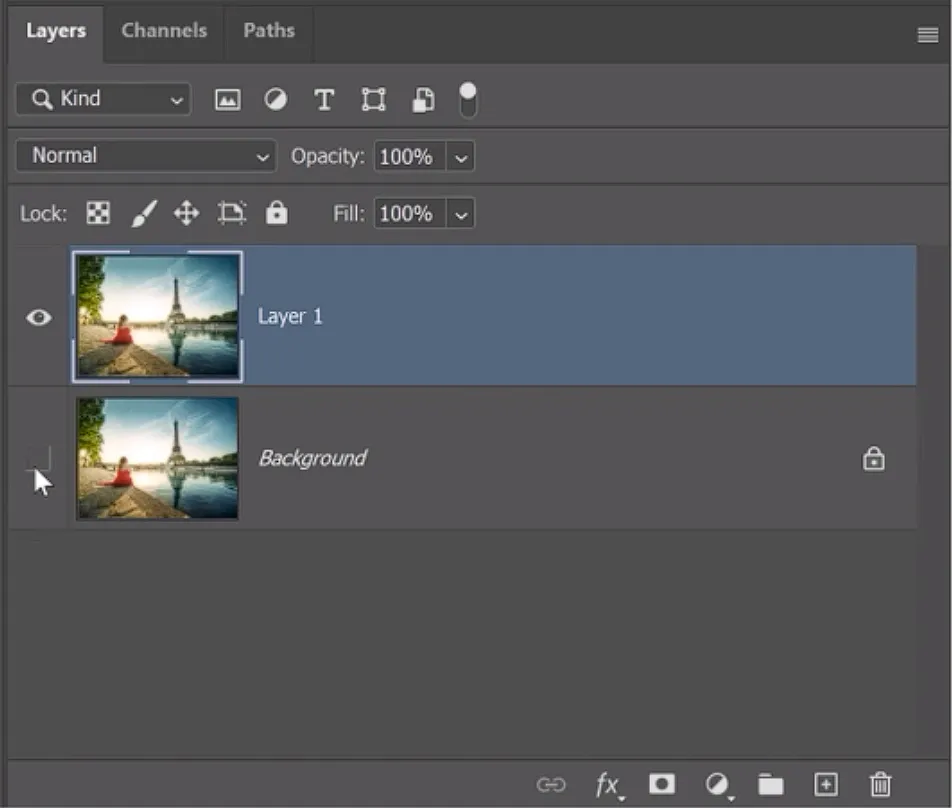
First, duplicate the layer by pressing Ctrl J (Windows) or Command J (macOS)
to work non-destructively and disable the background layer by clicking the Eye icon.
Step 02 – Create a Selection
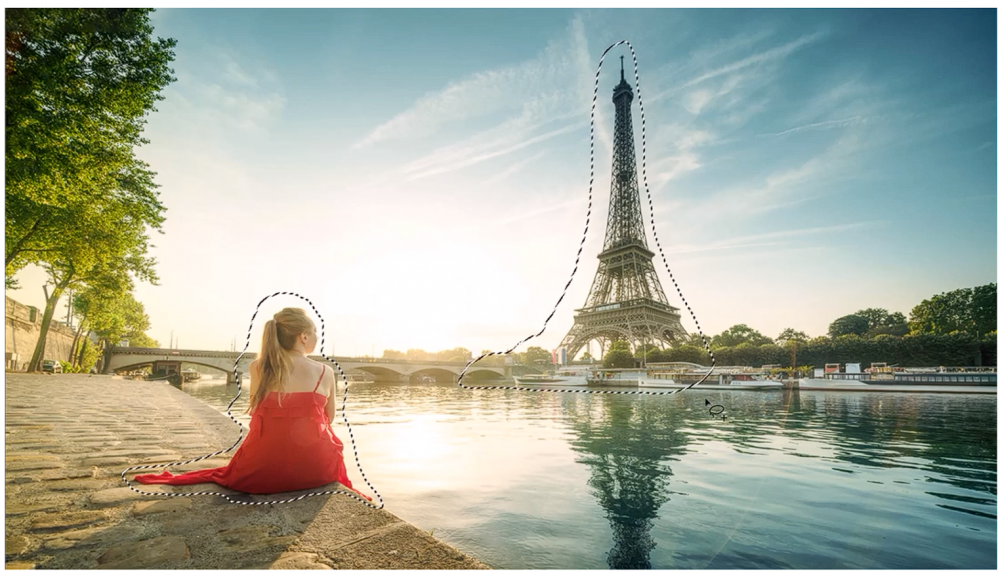
Create a selection around the areas you want to protect while you scale the image.
You can use any tool you like, but in this case, we’ll use the Lasso Tool.
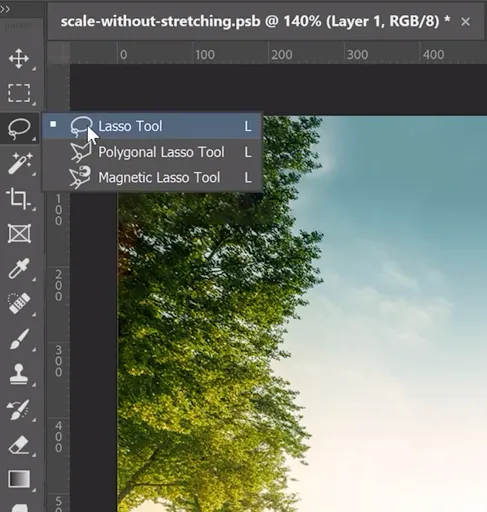
Select it from the Toolbar and freehand a selection around the woman in a fantastic red dress similar to these two piece prom dresses online and the Eiffel Tower. To add to the selection remember to hold the Shift key as you drag.
Step 03 – Save The Selection
Go into the Select menu and choose Save Selection.
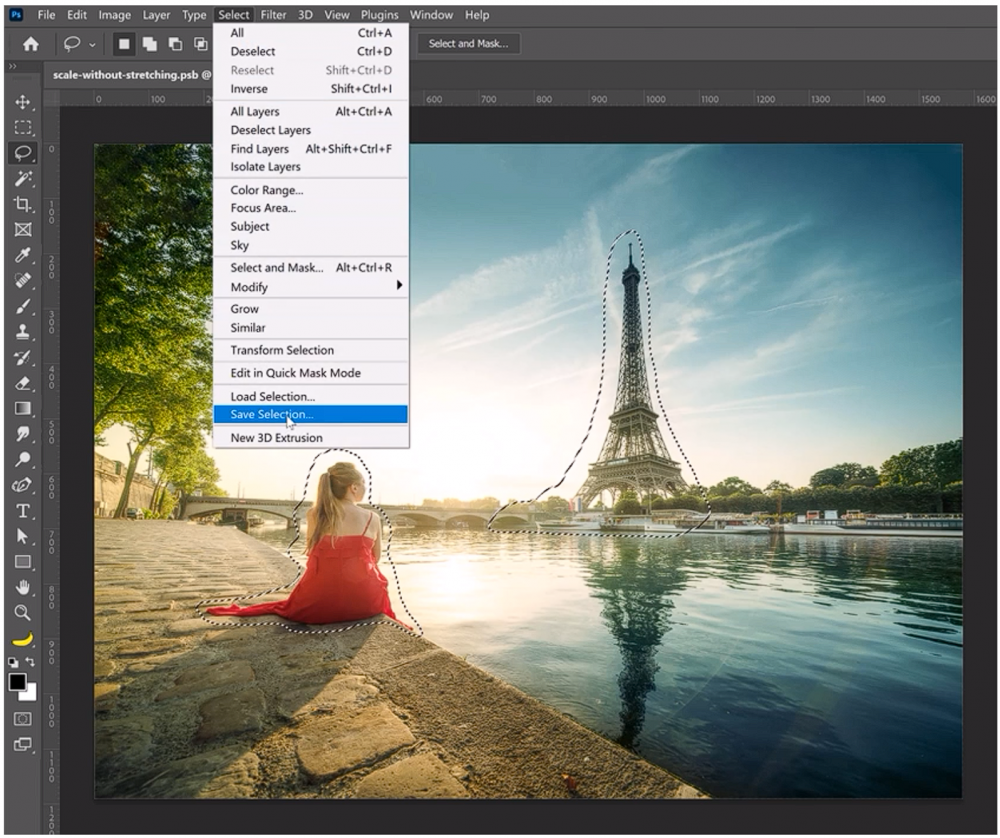
You can give the selection any name you like and press OK.
Then, deselect by pressing Ctrl D (Windows) or Command D (macOS)
Step 04 – Cropping the Image
We’ll now crop the image into the 9×16 aspect ratio.
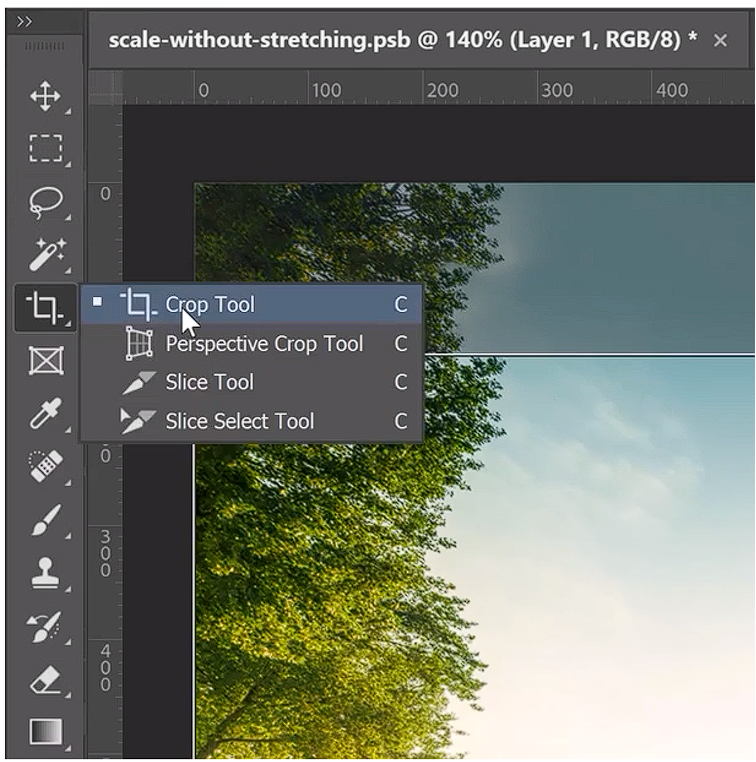
Select the Crop Tool from the Toolbar.
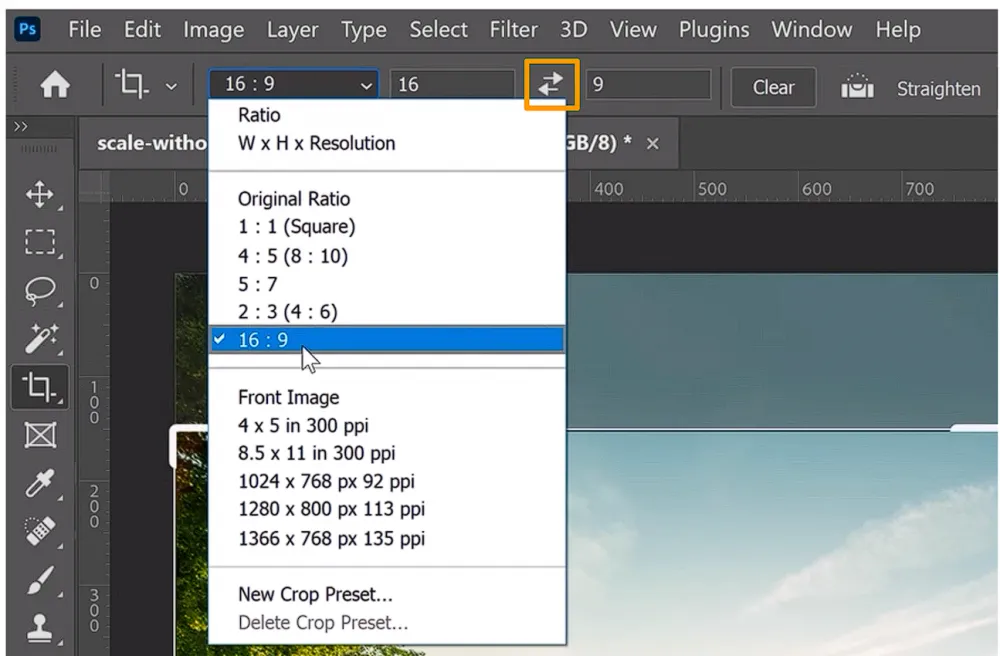
Then, select 16:9 in the Options Bar, and click on the double-sided arrows to swap the values to make it 9:16.
It’s very important to make sure you uncheck “Delete Cropped Pixels” in the Options Bar. You don’t want to delete any pixels.
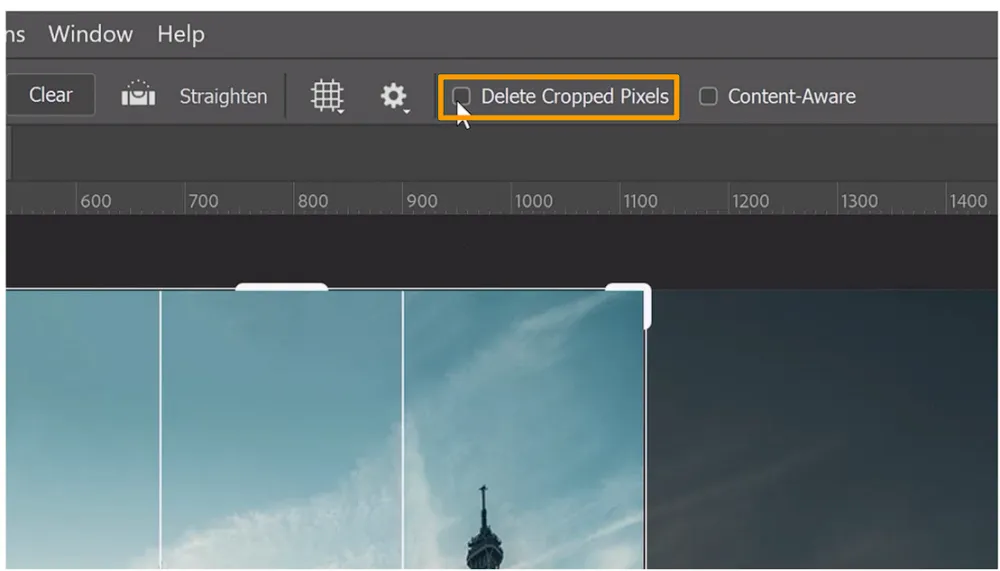
Press Enter (Windows) or Return (macOS). Now we have our portrait crop.
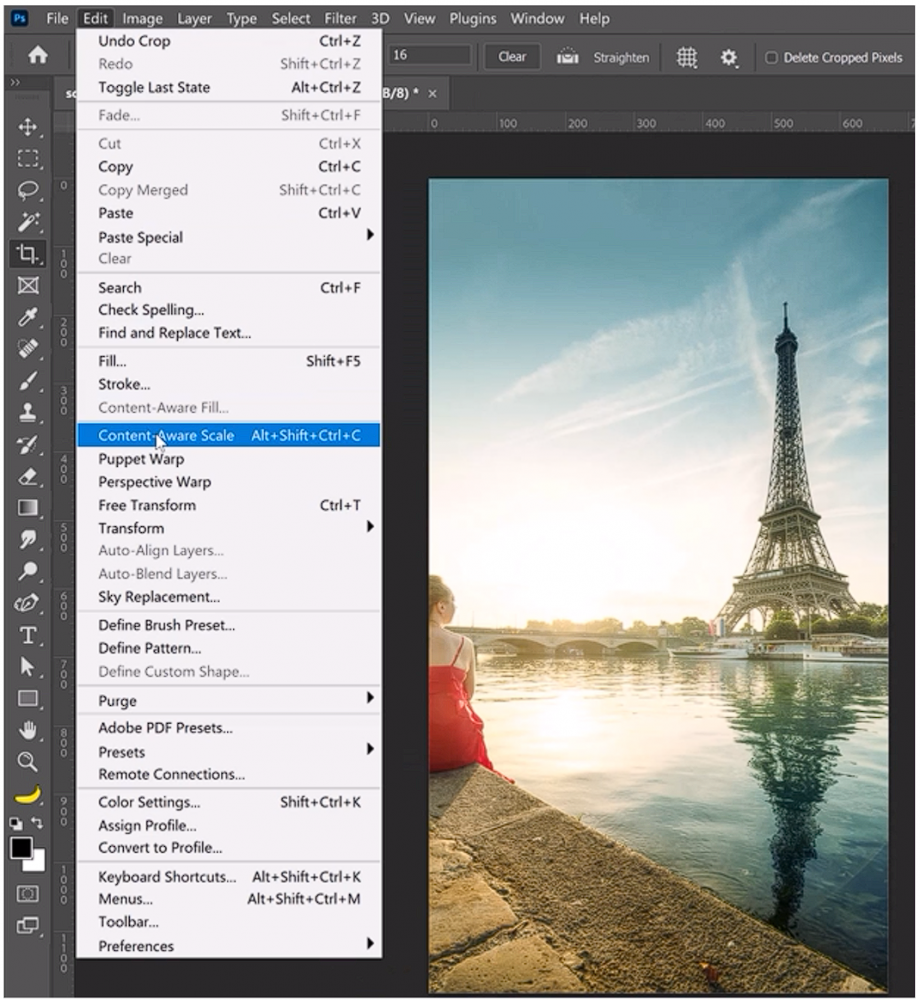
Step 05 – Resize with Content-Aware Scale
Next, go into the Edit menu and choose Content-Aware Scale.
From the Options bar, under Protect, choose your saved selection.
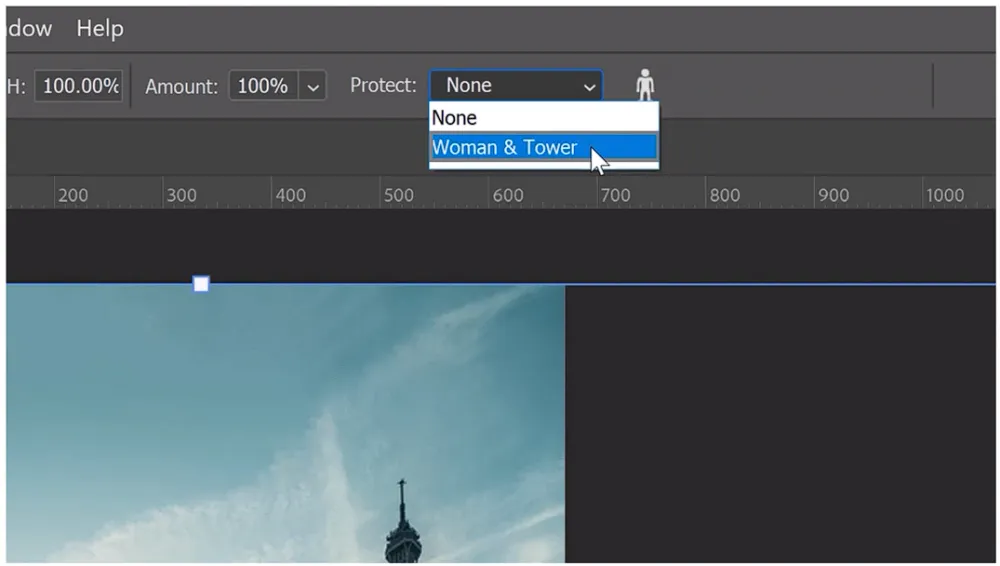
In this case, we named it “Woman & Tower.” Once selected, we can now start scaling the image.
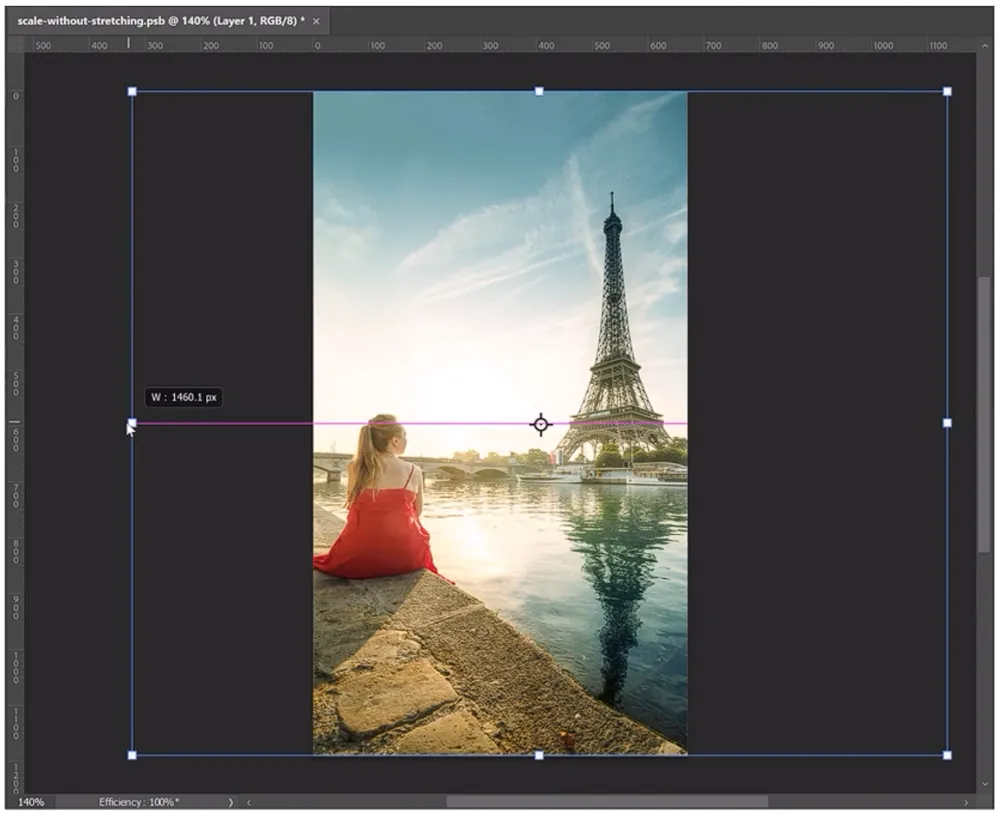
By doing so, Photoshop will not distort the woman or the Eiffel Tower, and we’ll have the two most important visual elements in this version of the photo.
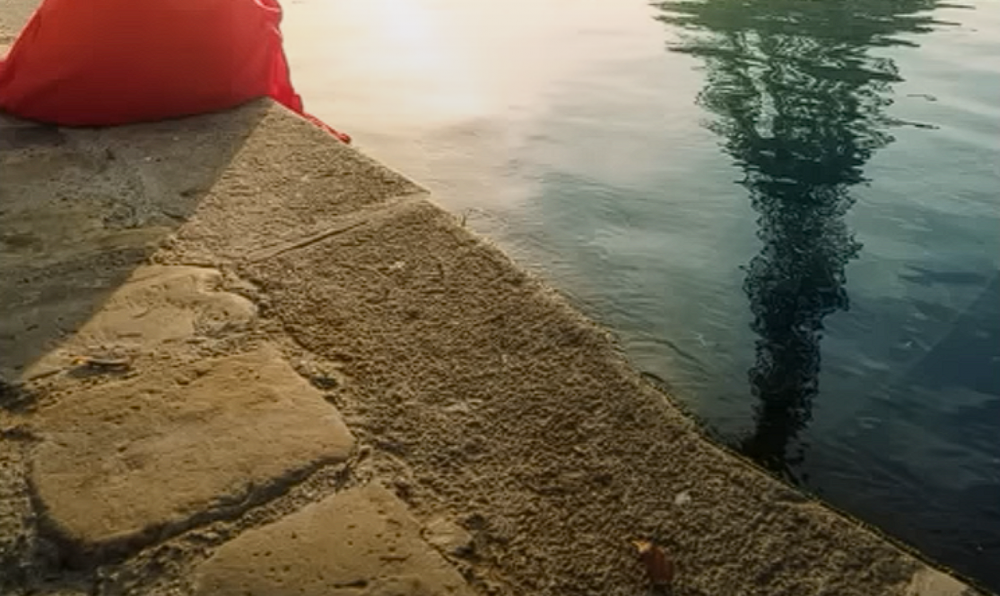
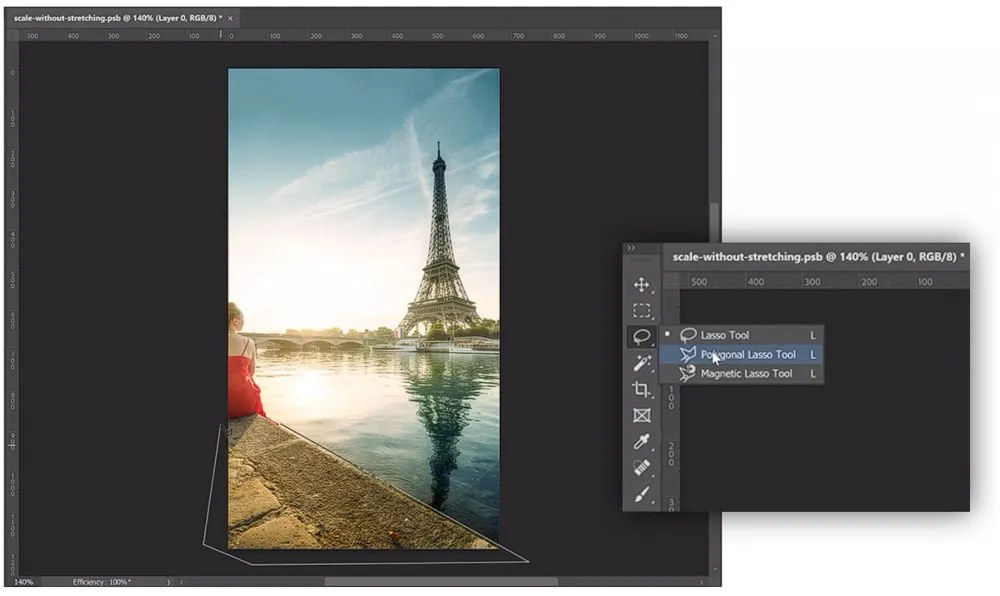
Step 06 – Fixing the Imperfections
In some cases, we’ll need a little bit of work in fixing certain areas in the photo.
For example, the ground in the photo doesn’t look too good, but that’s very easy to fix!
Disable the edited image and enable the original image by clicking their respective Eye icons.
Choose the Polygonal Lasso Tool from the Toolbar, and select the ground.
Next, press Ctrl J (Windows) or Command J (macOS) to copy and paste it onto a new layer.
Drag that layer up. And with the Move tool on the Toolbar, place this layer into position.
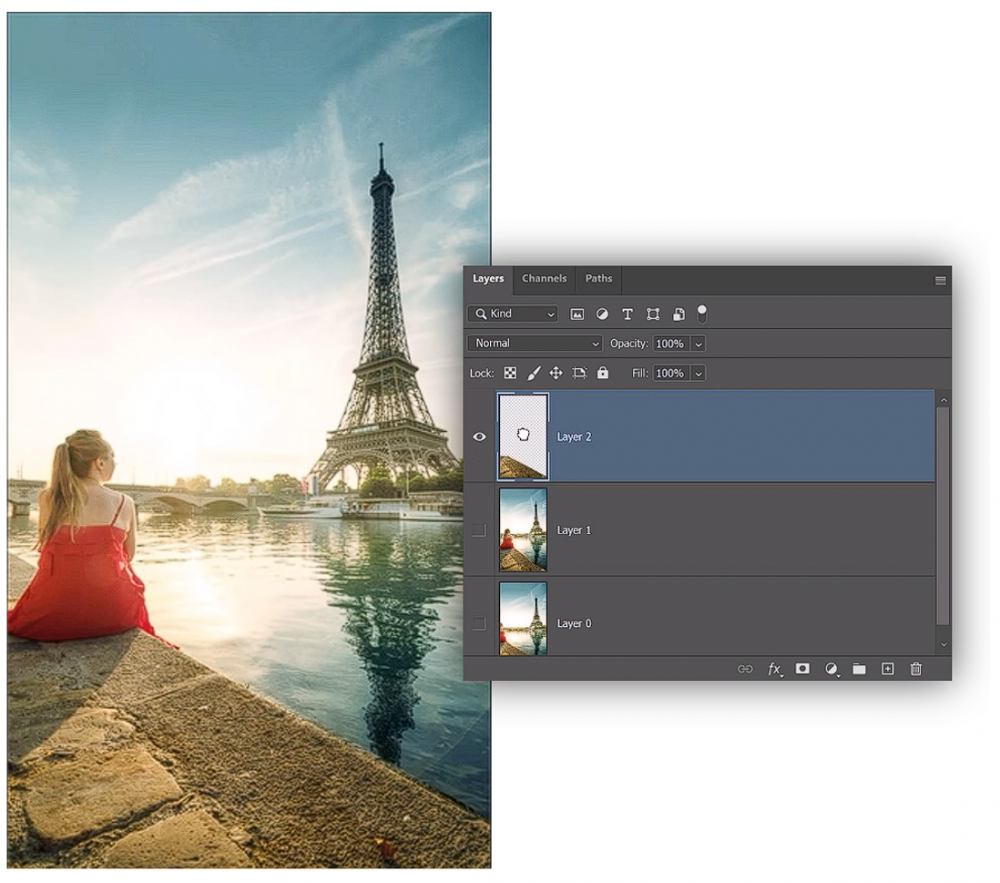
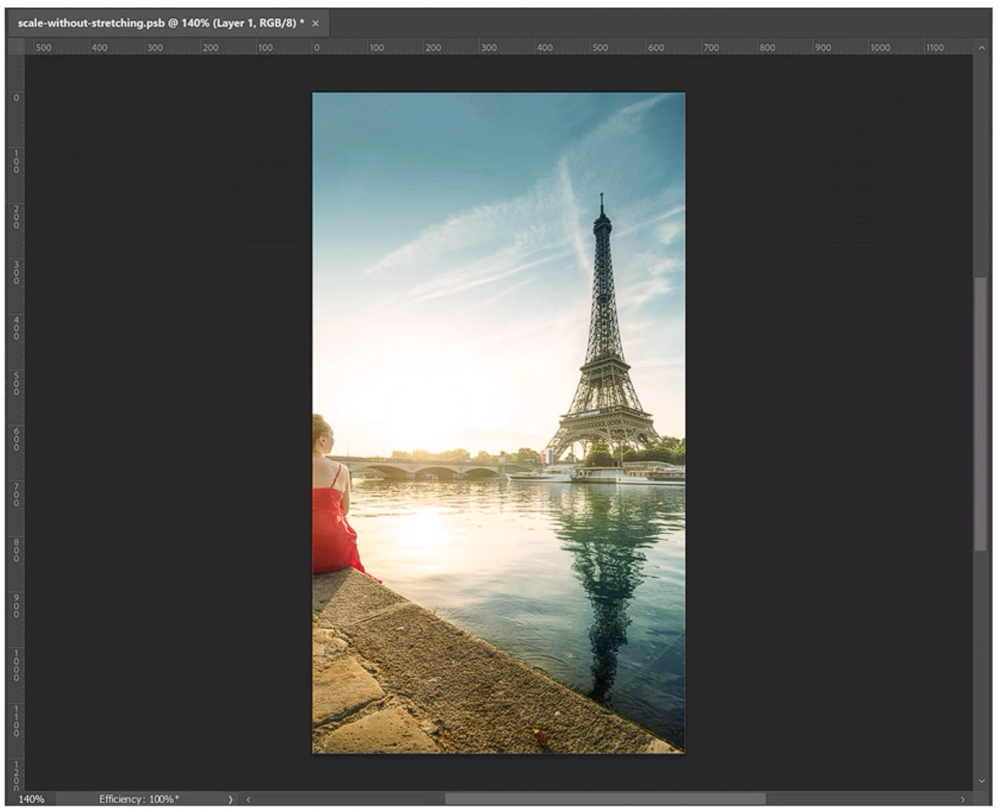
Final Output