Easy-to-follow tutorial to create a beautiful Neon Light Effect in Photoshop!
In this tutorial, you will learn about the new Materials in Photoshop 2023 and Layer Styles to create this amazing and realistic effect. From background creation and neon text to atmosphere effects. Everything explained.
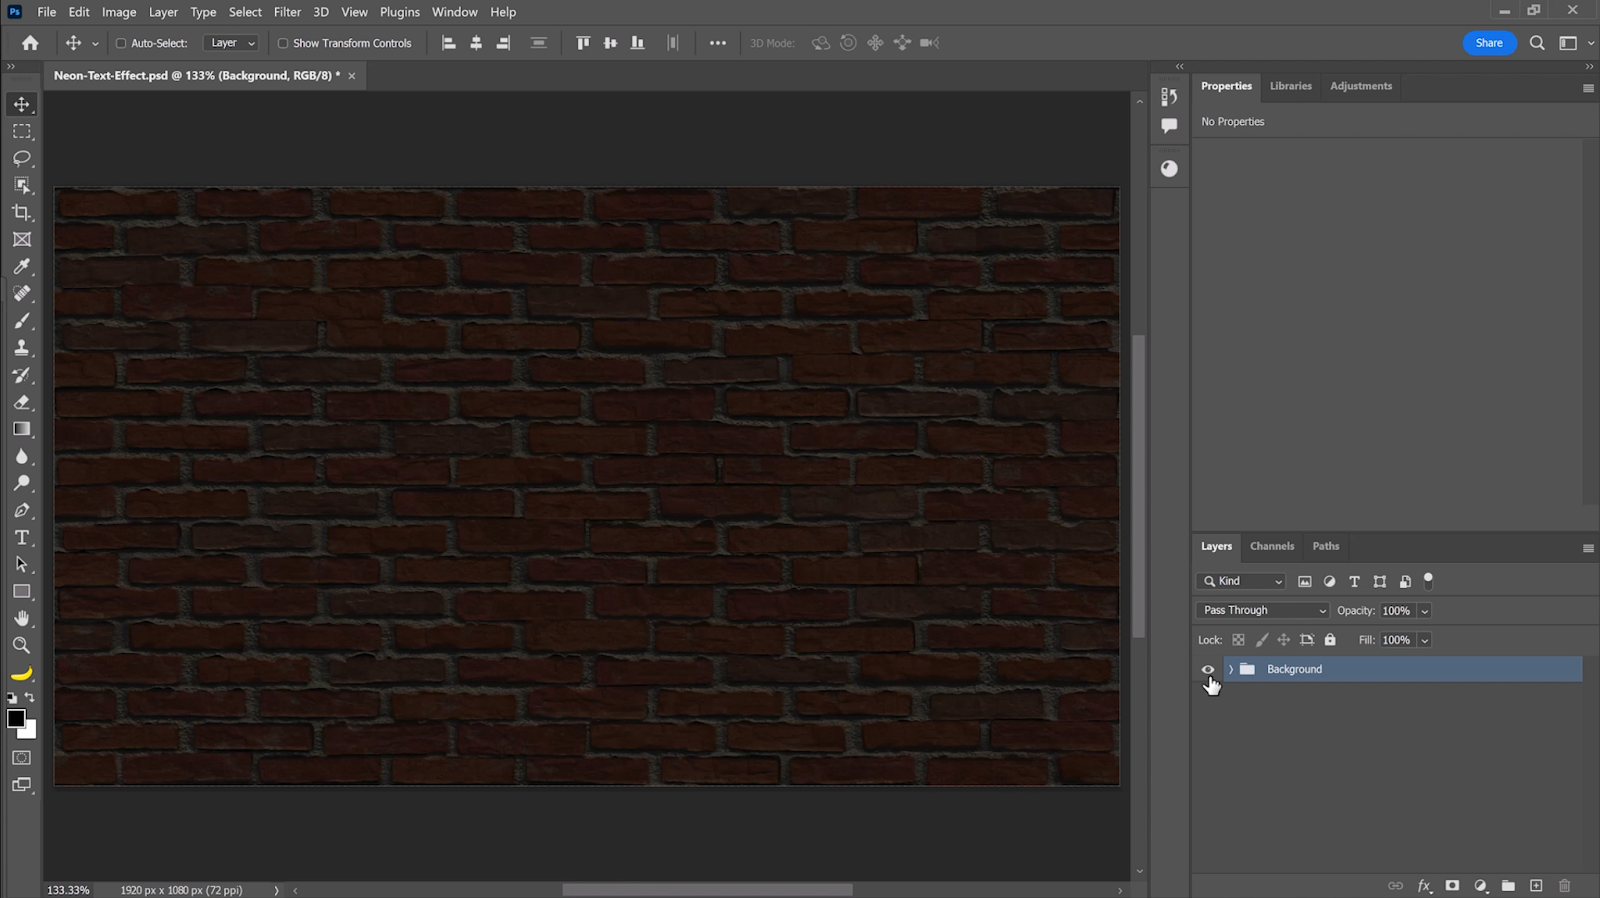
Step 01 – Create the Brick Background
Go to Window and choose Materials.
Materials can help you create photorealistic surfaces with customizable attributes, similar to the old Photoshop patterns but with more control.

Type “Brick” in the search bar and select the brick material to add to your project.


From the Material Properties panel, adjust the resolution to Ultra for the highest resolution available.
Click check on the Repeat Uniformly box.
Adjust the size of the bricks by typing in a number (e.g. 0.75) and hitting Enter.
You can adjust the brick color or select a preset from the dropdown.


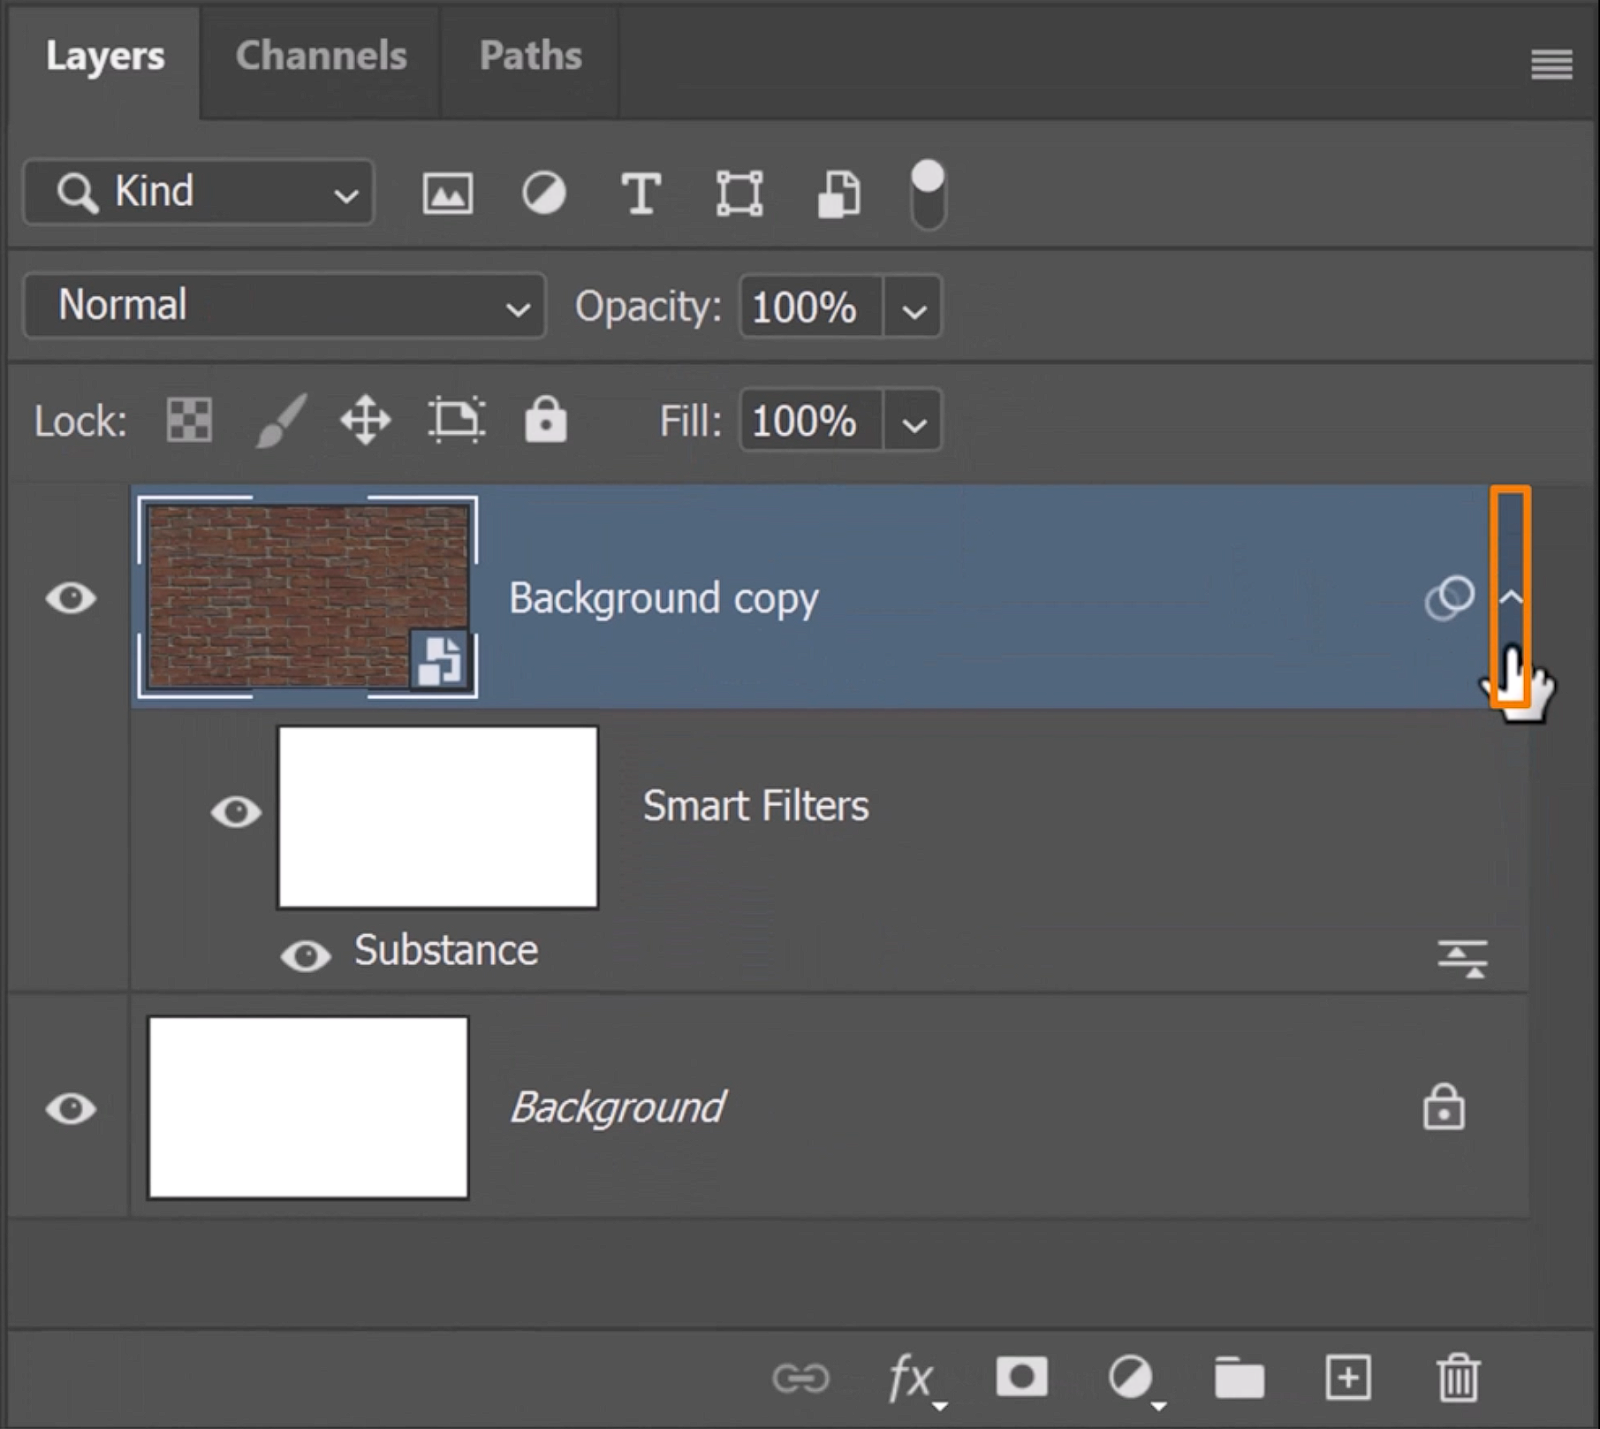
Collapse the Background copy layer and delete the Background layer.
Add a Hue/Saturation Adjustment Layer.

Create a Clipping Mask by pressing Ctrl Alt G (Windows) or Command Option G (macOS)
to control the background.
Delete the Layer Mask since we don’t need it.

Desaturate the layer to about -50.

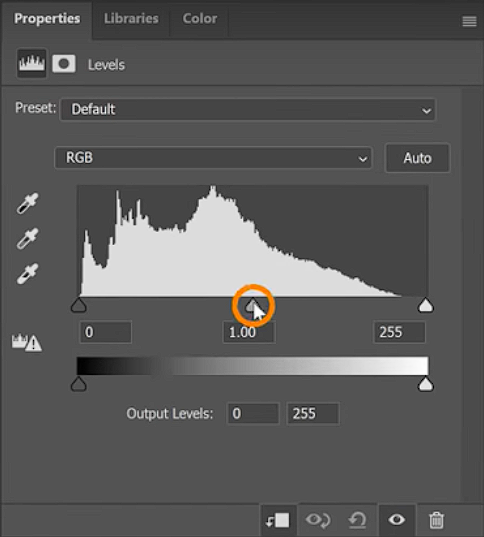
Create a Curves Adjustment Layer to add contrast to the image.

Create a Clipping Mask by clicking the Clipping Mask icon or using the same keyboard shortcut, Ctrl Alt G (Windows) or Command Option G (macOS). Delete the Layer Mask.


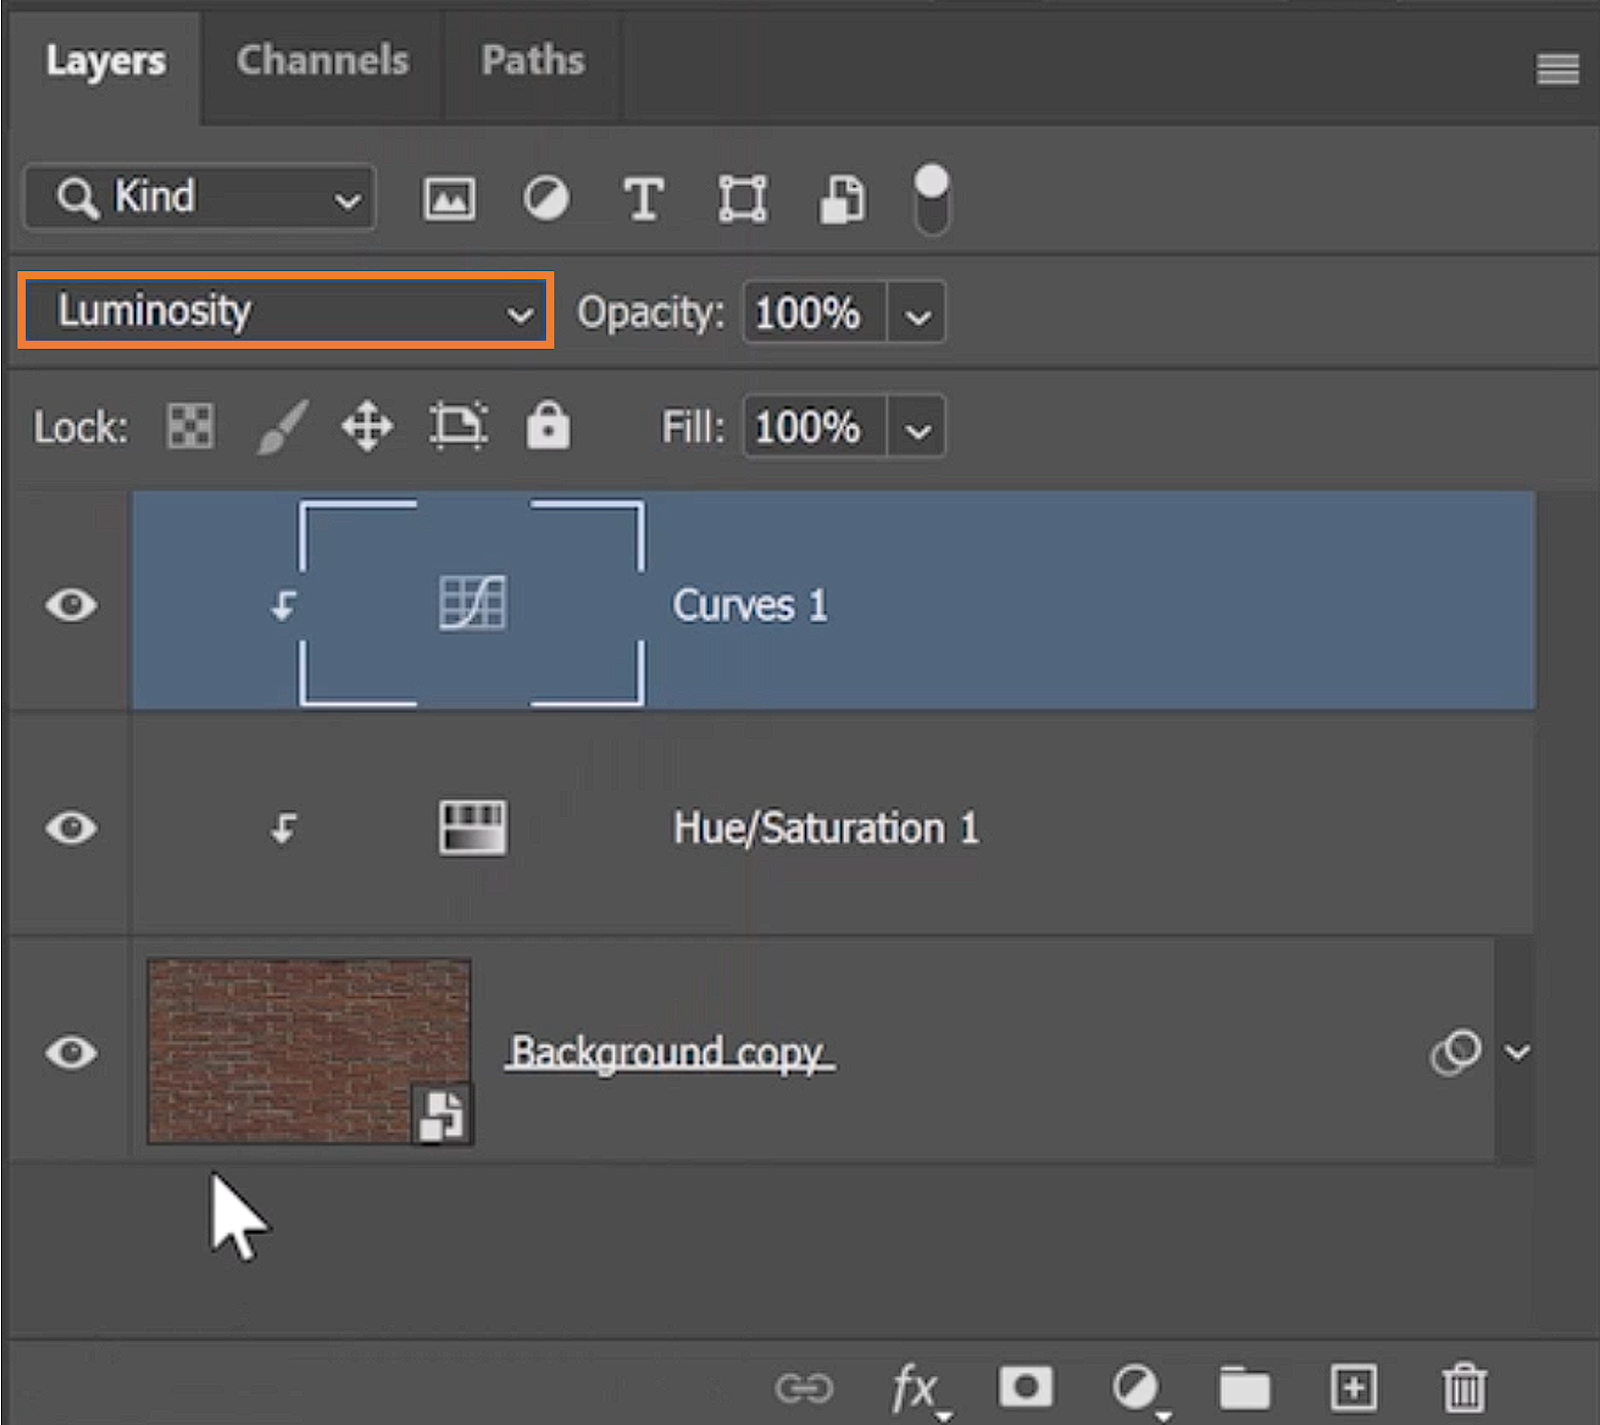
Set the blending mode of the Curves Adjustment Layer to Luminosity.
Drag the top right point down to 165 to make white a light shade of gray.

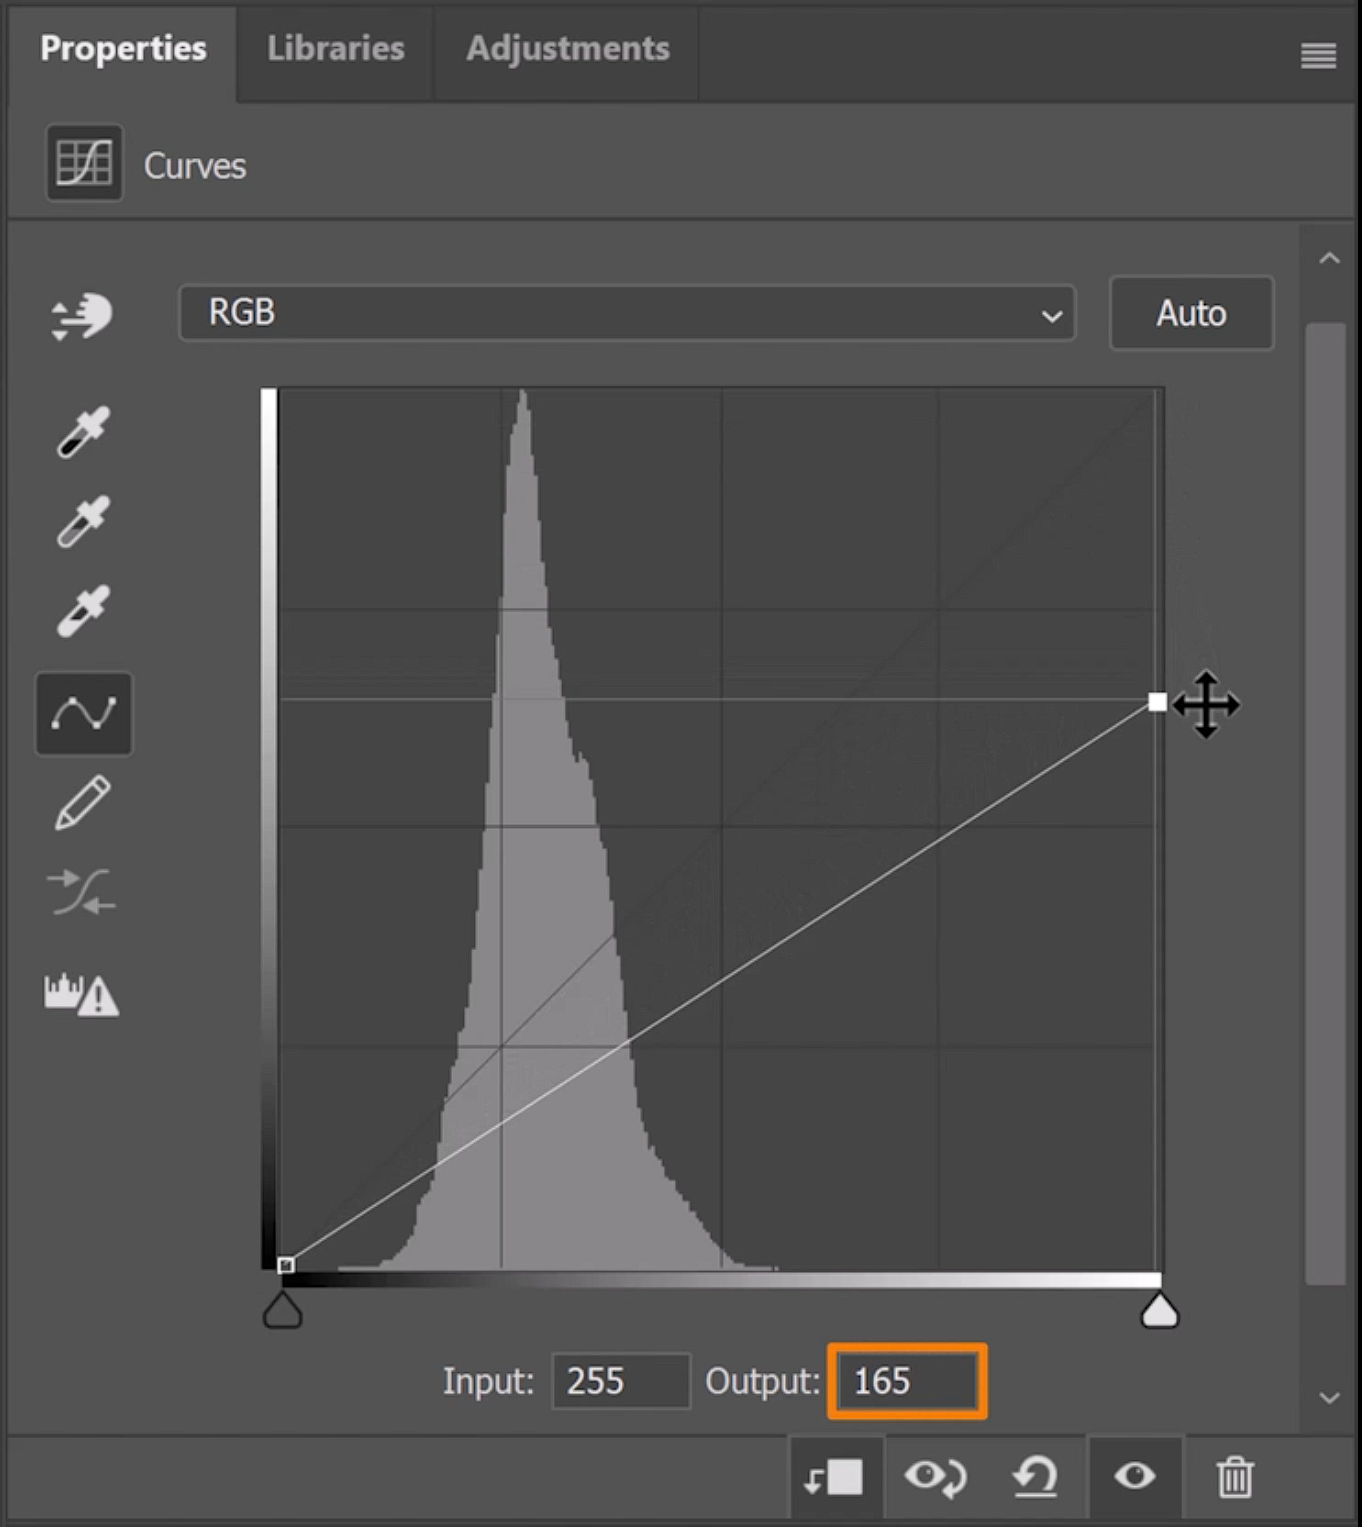
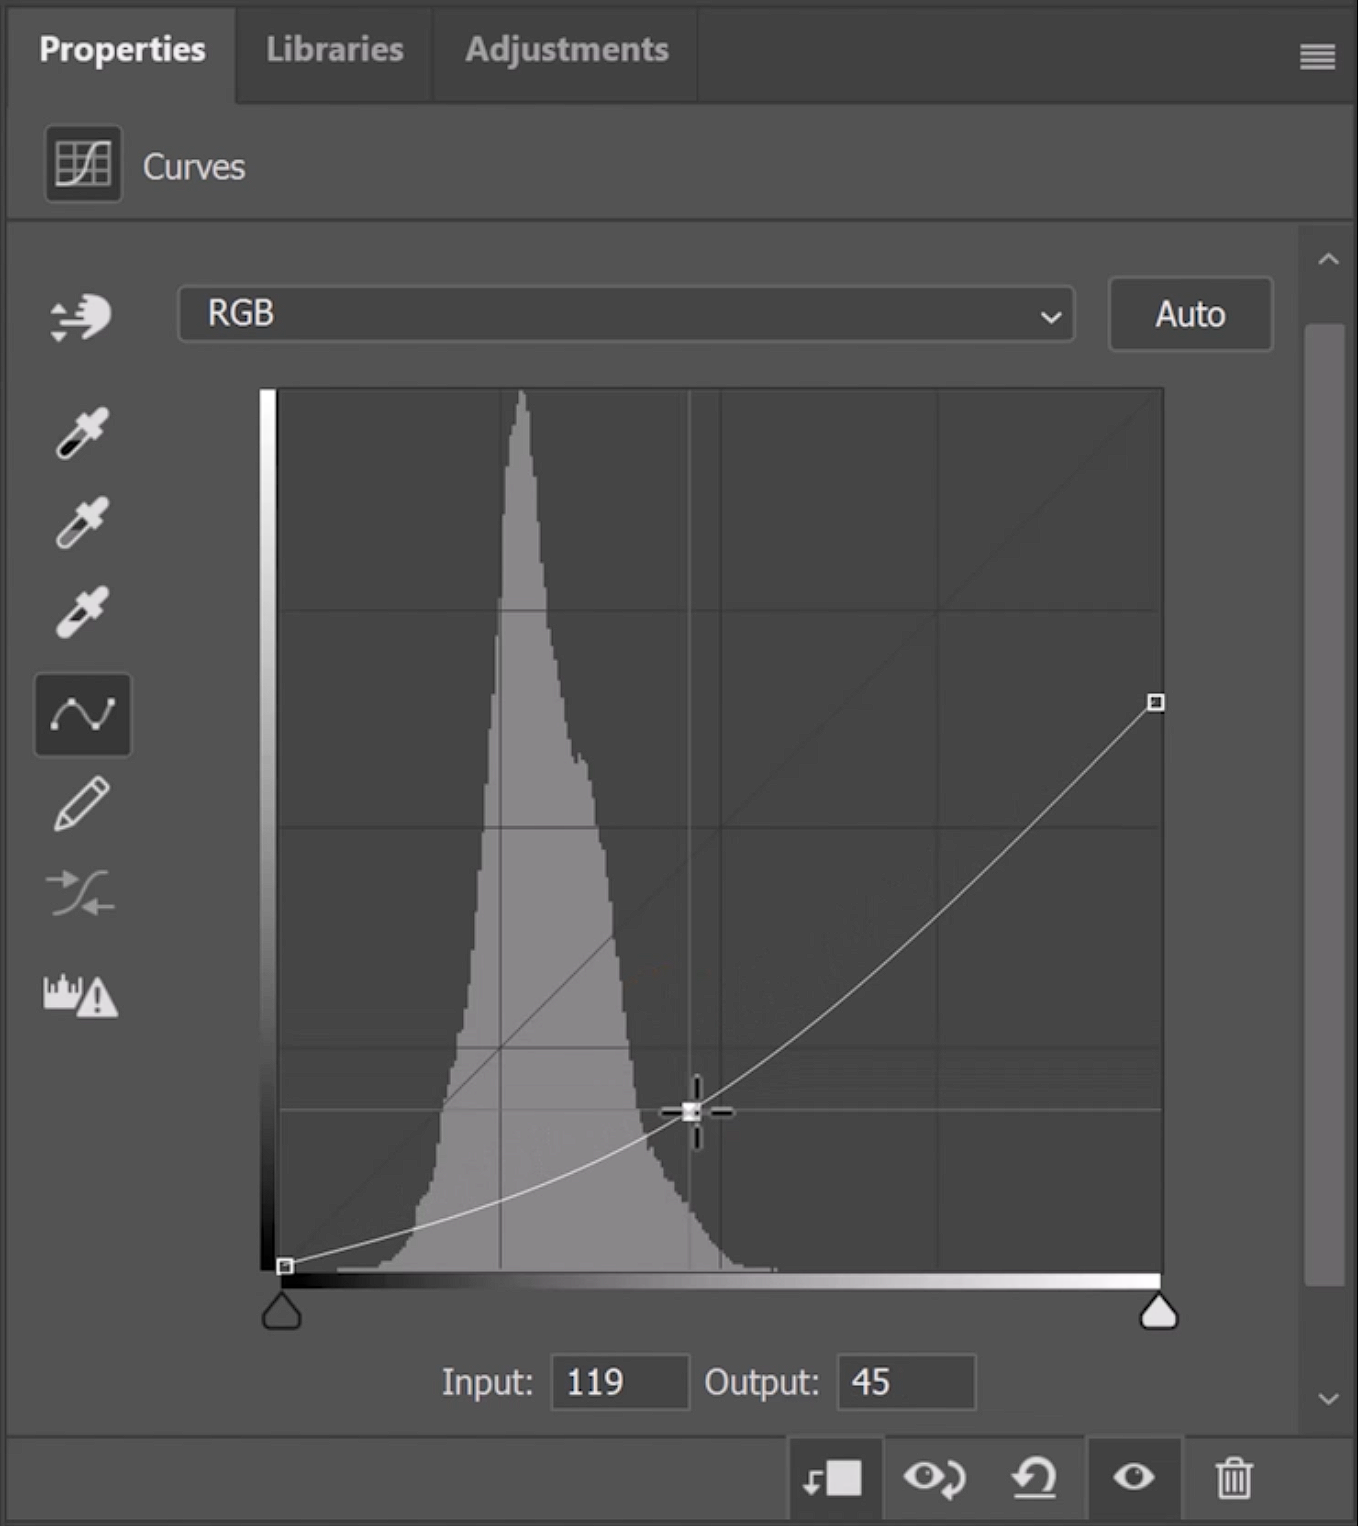
Drag the center point down to darken the image and give it more contrast.

Put all these layers in a group by selecting them all and pressing Ctrl G (Windows) or Command G (macOS) and labeling it Background.
Your background is now complete!
We’ll create the neon sign next.
Step 02 – Create the Neon Sign with the Rectangle Tool
Select the Rectangle Tool from the toolbar or press U.

From the Options bar, make sure that Shape is selected, and create a rectangle.
You can make the rectangle any size you like, but for this tutorial, you can follow the sizes below.

Select the Move Tool from the toolbar or press V.
Click on the ellipsis icon to ensure that Align To is set to Canvas.
Then, click the Alignment settings indicated in the image below.
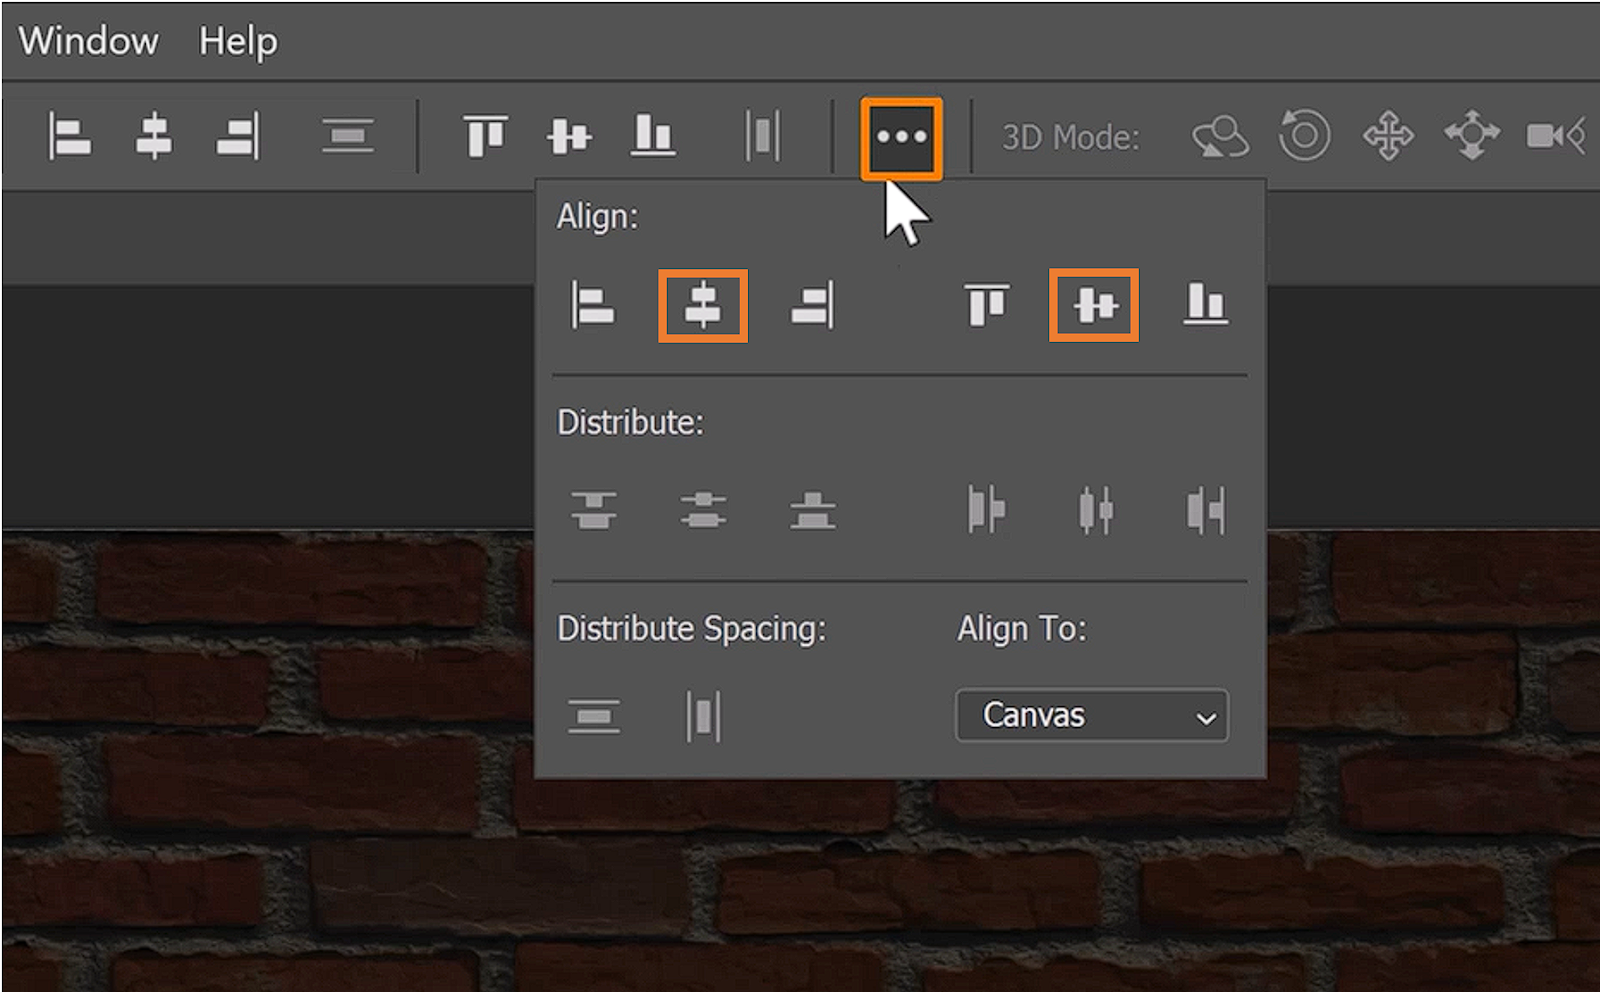
Your rectangle should now be perfectly centered on the canvas.
From the Properties panel, click on the Fill swatch and remove the fill.
Next, add a white stroke to the rectangle by making the stroke about 8 pixels.
Drag on the icons to round the corners of the rectangle to about 66 pixels.

Step 03 – Apply Layer Styles to Create the Neon Glow
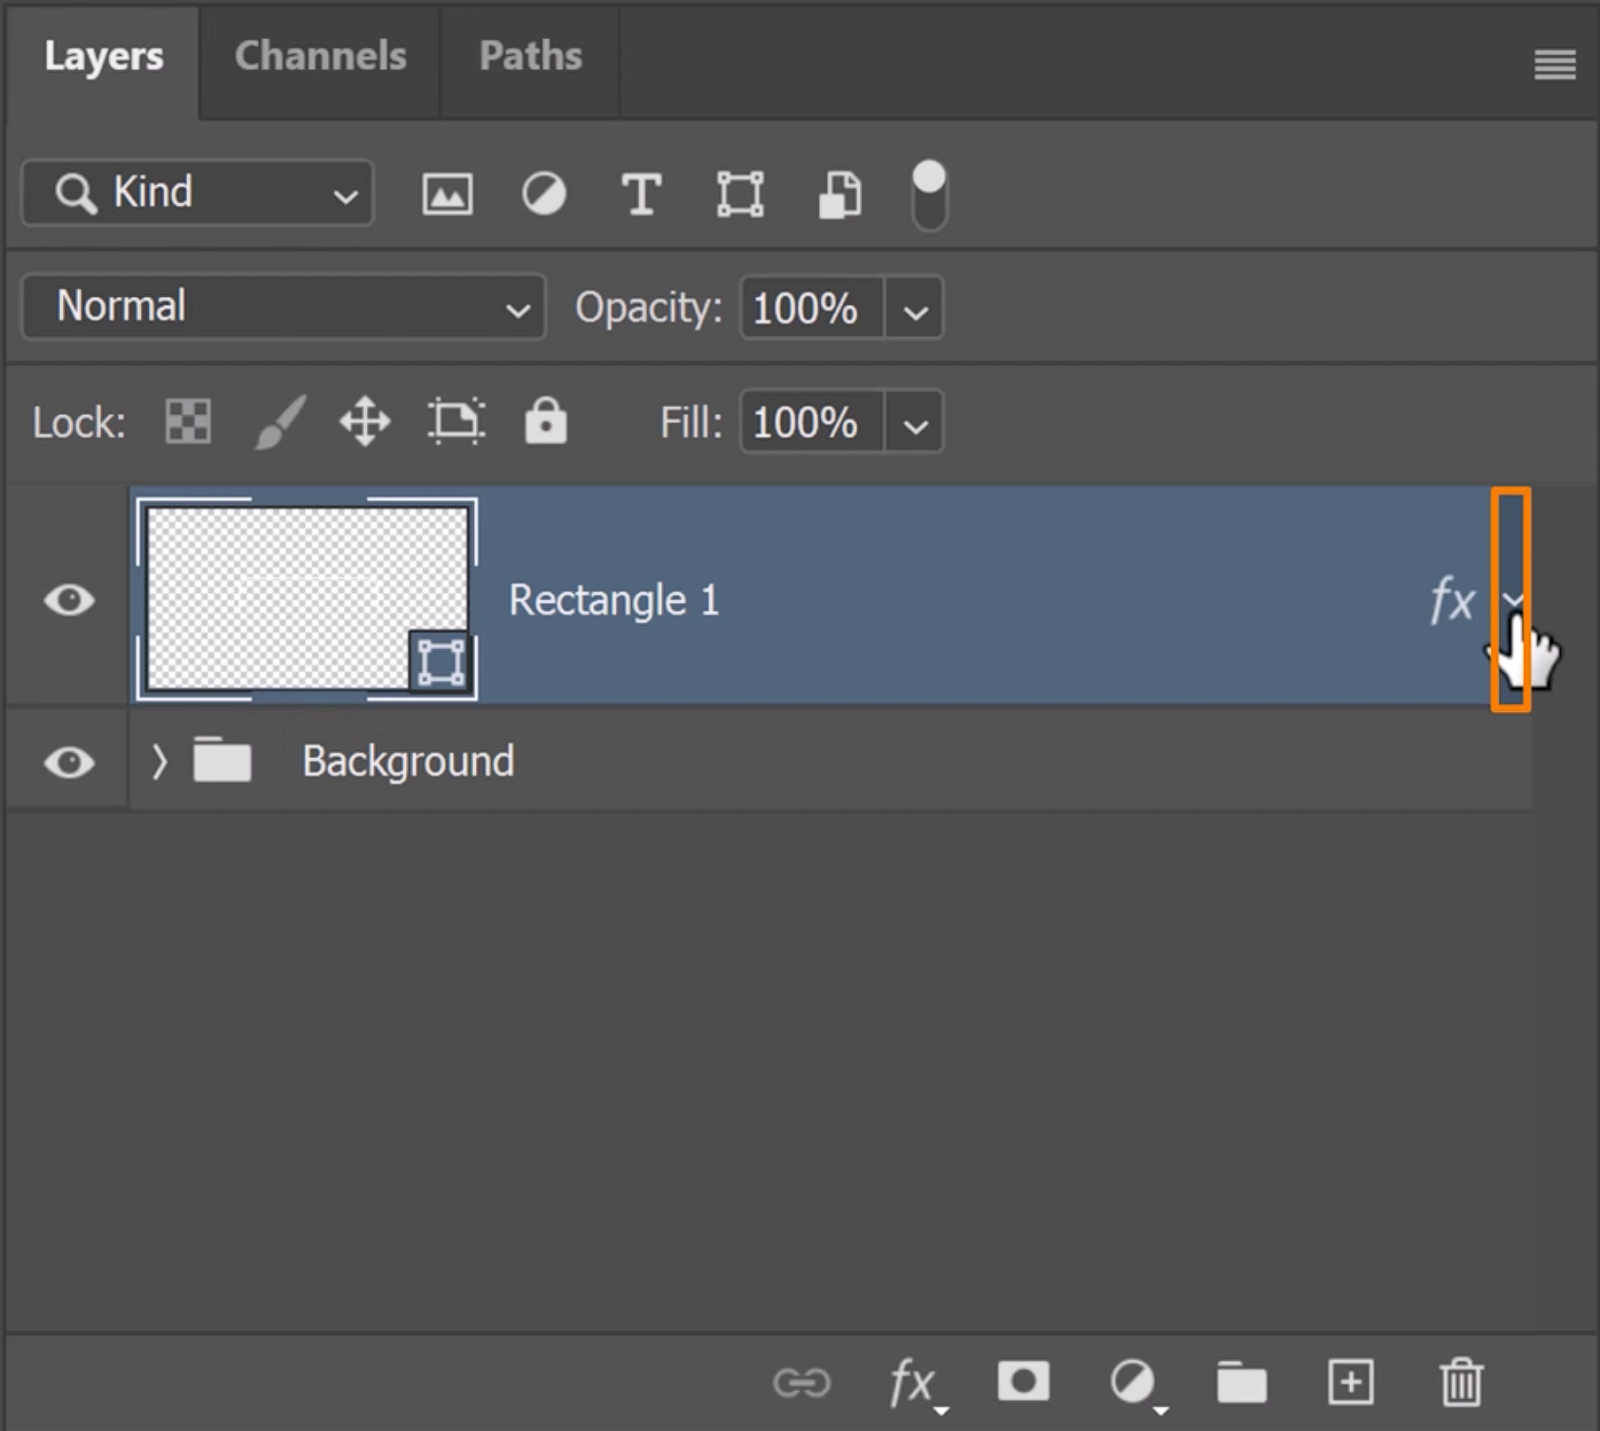
Double-click on the side of the Rectangle layer to bring up the Layer Style window.
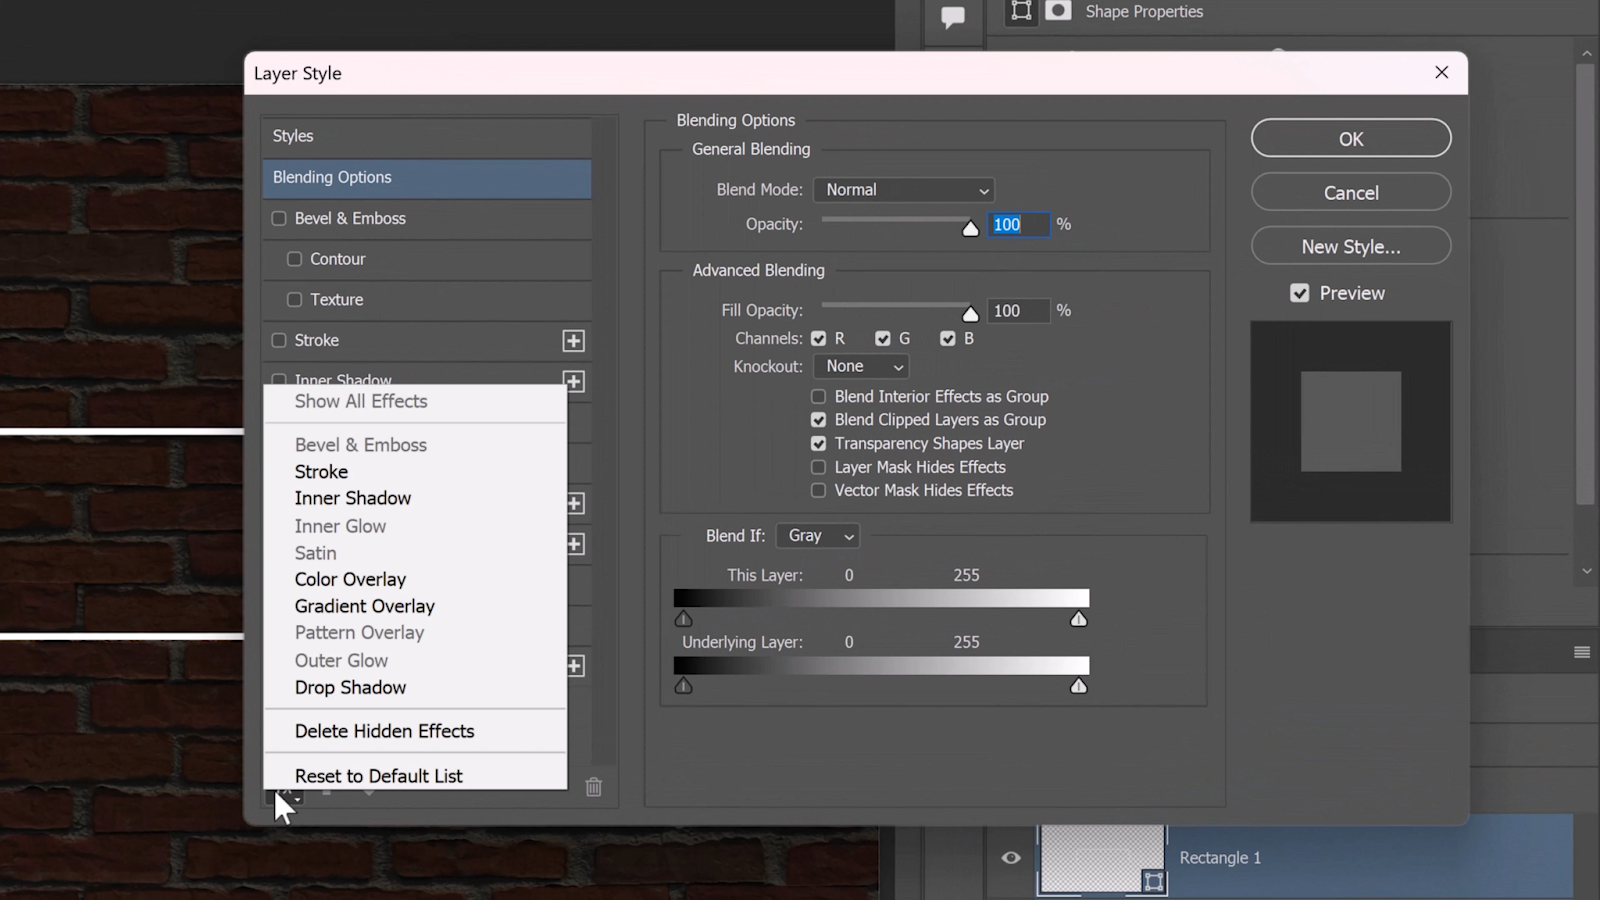
To make sure you’re looking at the same thing, click on the FX icon and reset to the default list.
We will first add an Outer Glow, making it seem like the layer is glowing.
Increase the Opacity to 75%. Click on the swatch to add color.
In this case, we will use predetermined values.
Hue to 200, Saturation to 100, and Brightness to 100.
Then press OK.
We can then increase the Size to about 13 pixels, and set the Spread to zero.
Change the Blending Mode from Screen to Linear Dodge Add,
making the glow shine in the background better.

To intensify the glow effect, we’ll use a Drop Shadow instead of adding another glow.
Change the Blending Mode from Multiply to Linear Dodge Add, creating a glow instead of a shadow.
Use the same color as before, with the Saturation set to 100, the brightness set to 100, and the hue set to 200.
Ensure the angle is set to 90, and uncheck the “Use Global Light” box.
Increase the opacity to 100% and notice the glowing effect.
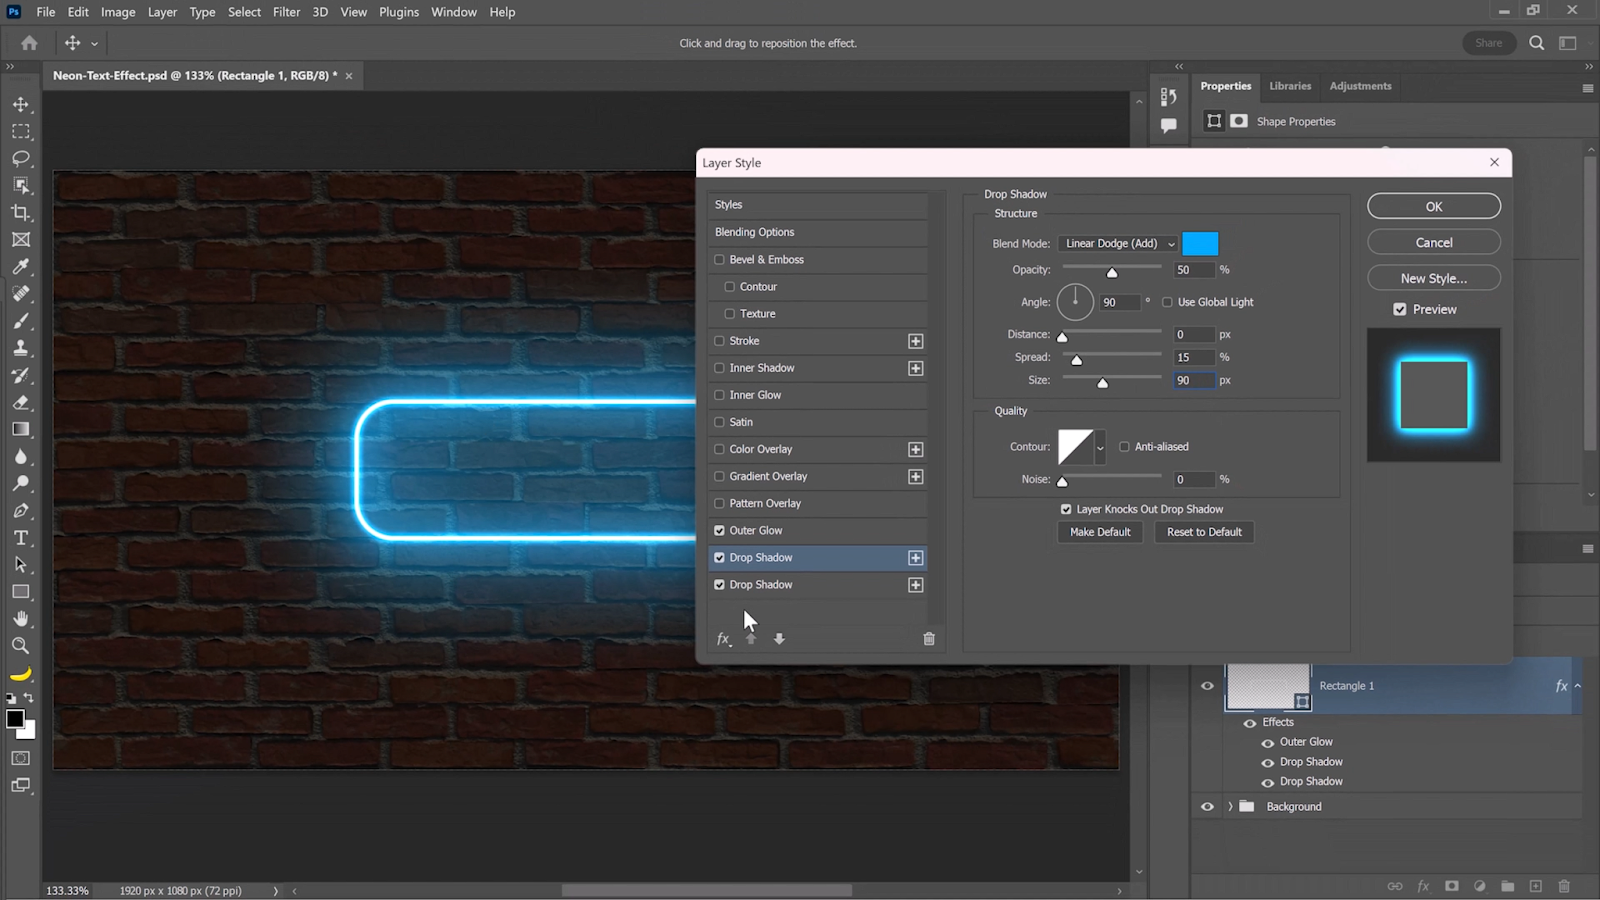
Next, we will increase the Size for an Atmospheric Light Effect.
Increase the size of the glow to 250, change the distance to zero, and the Spread to 15%.
This will create the illusion of having more atmospheric light, which will enhance the overall effect. You should get this result from the adjustments that we’ve made.

Click the (+) icon to duplicate the Drop Shadow effect and adjust the settings.
Opacity down to 50 px and Size to 90 px.
You can stack Layer Styles to create better effects, and it helps create a more realistic glow.
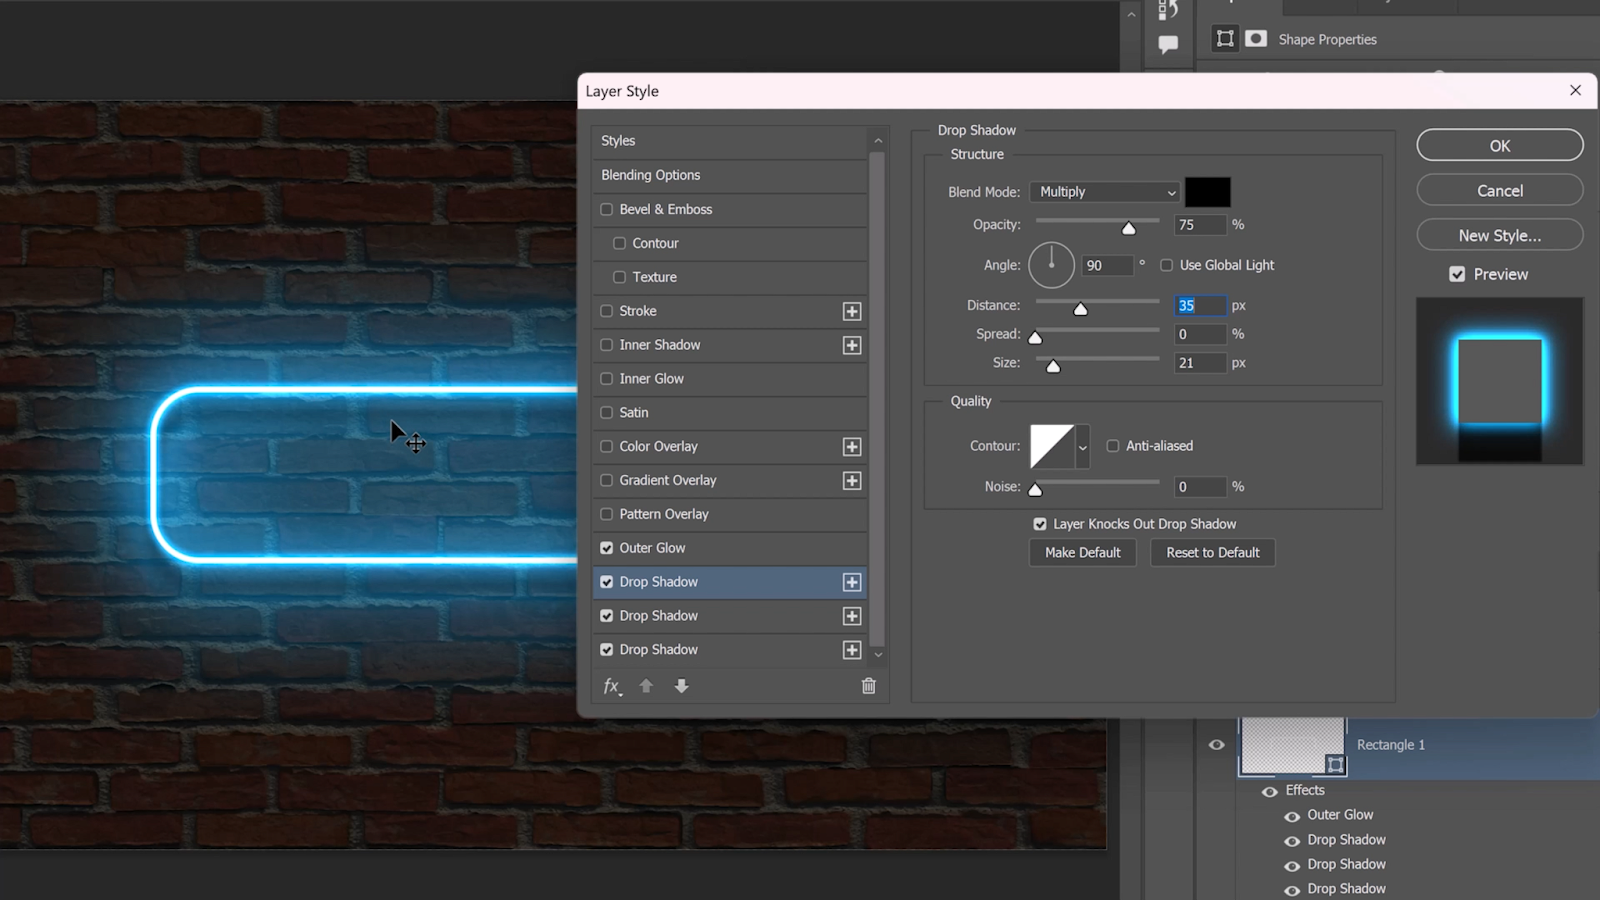
To create the illusion of space between the neon light and the brick wall, we will add shadows to the effect.
Duplicate the Drop Shadow and change the color to black.
Change the Blending Mode to Multiply, and set the Opacity to 75%.
Adjust the Distance to 35 px and Spread it to about 21 px.
You can play around with these values to create the desired shadow effect.
Next, we’ll duplicate the Drop Shadow again to make the effect more realistic.
Adjust the Angle to -90 px and the Opacity to 60%. Press OK.
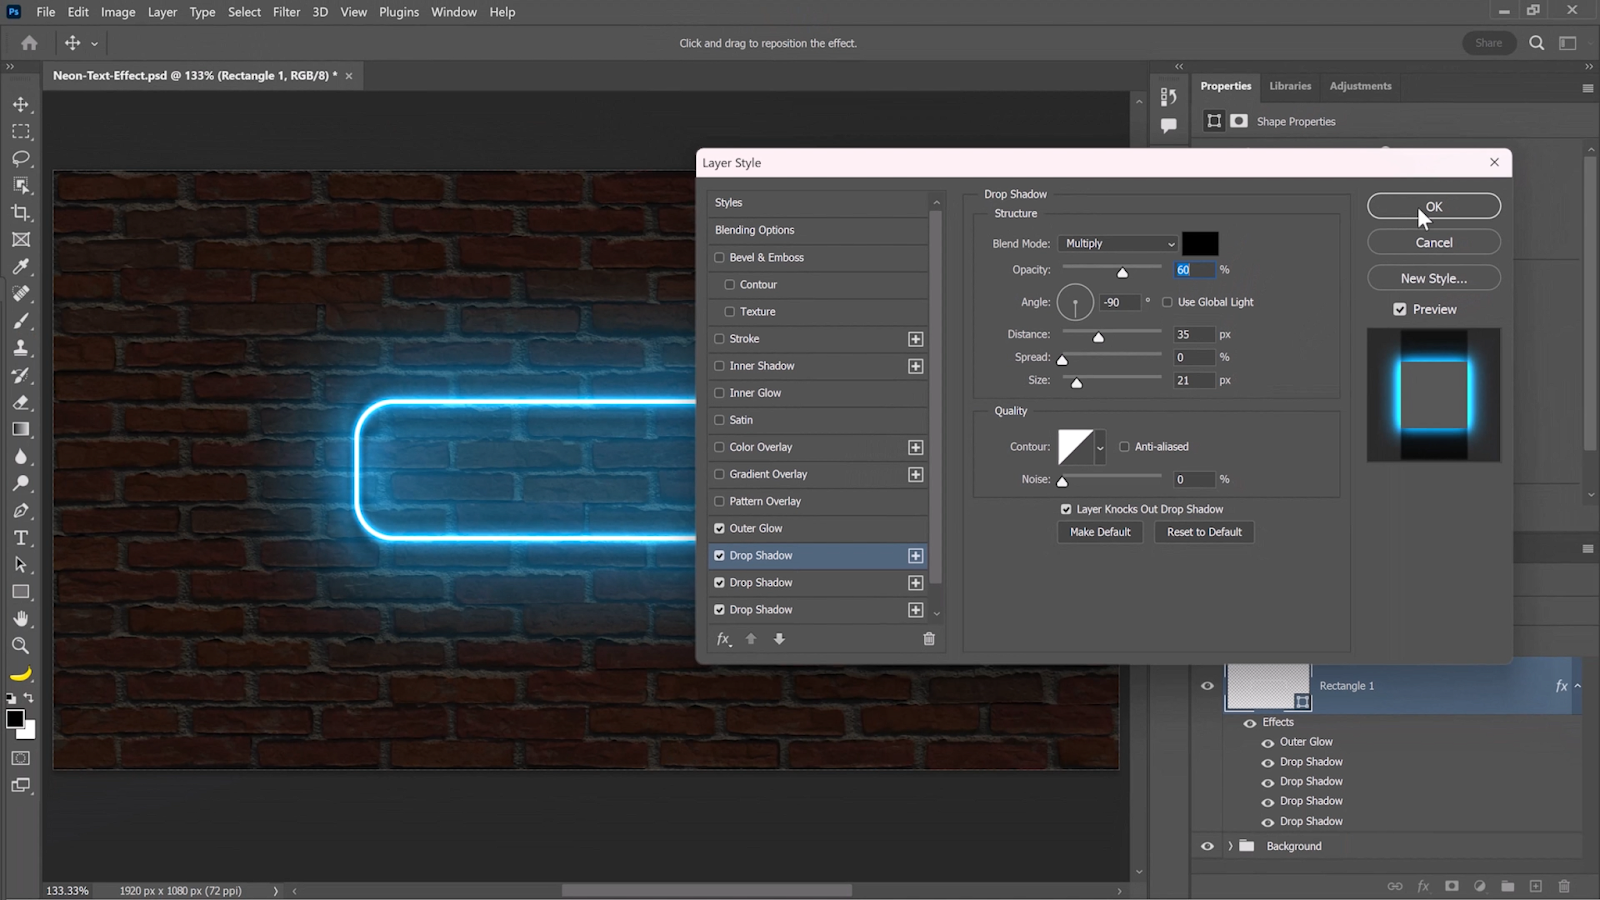
Collapse the Rectangle layer for more room to work with for our next steps.
Step 04 – Type The Neon Text
Enable the Horizontal Type tool and select the font.

Let’s use an Adobe stock font called Handsome.

Make sure that you create your text layer outside of the text box.
If you click on the text box, you can see how the icon changes.
We don’t want to create a text box or type along a path.
Type the word “Neon” away from the rectangle.
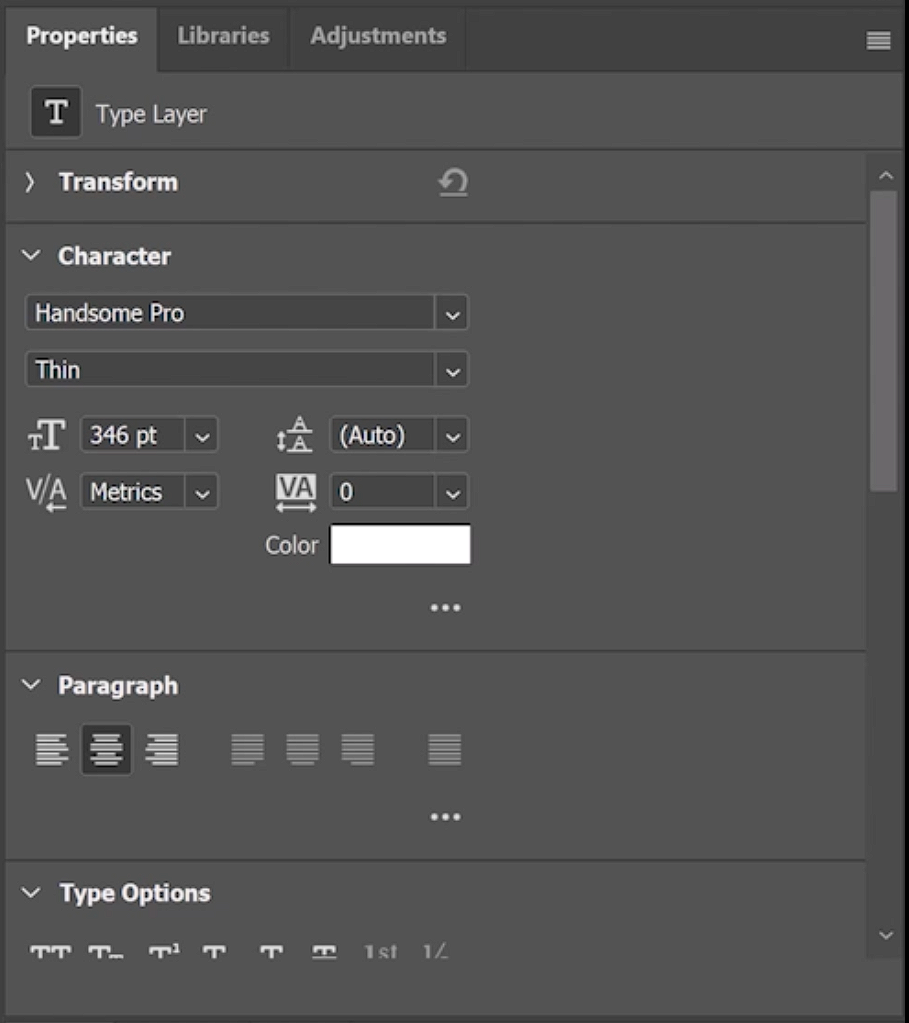
With the Neon text selected, from the Properties panel under Character, change the font weight to 346 and Bold to Thin to get a thinner text.
Next, press V on the keyboard to enable the Move tool.
Place the Neon text in position or use the same trick as before by clicking the ellipsis icon.
Make sure you align to Canvas and click on the center buttons to center the image in place.
In this case, we’ll drag it up slightly.

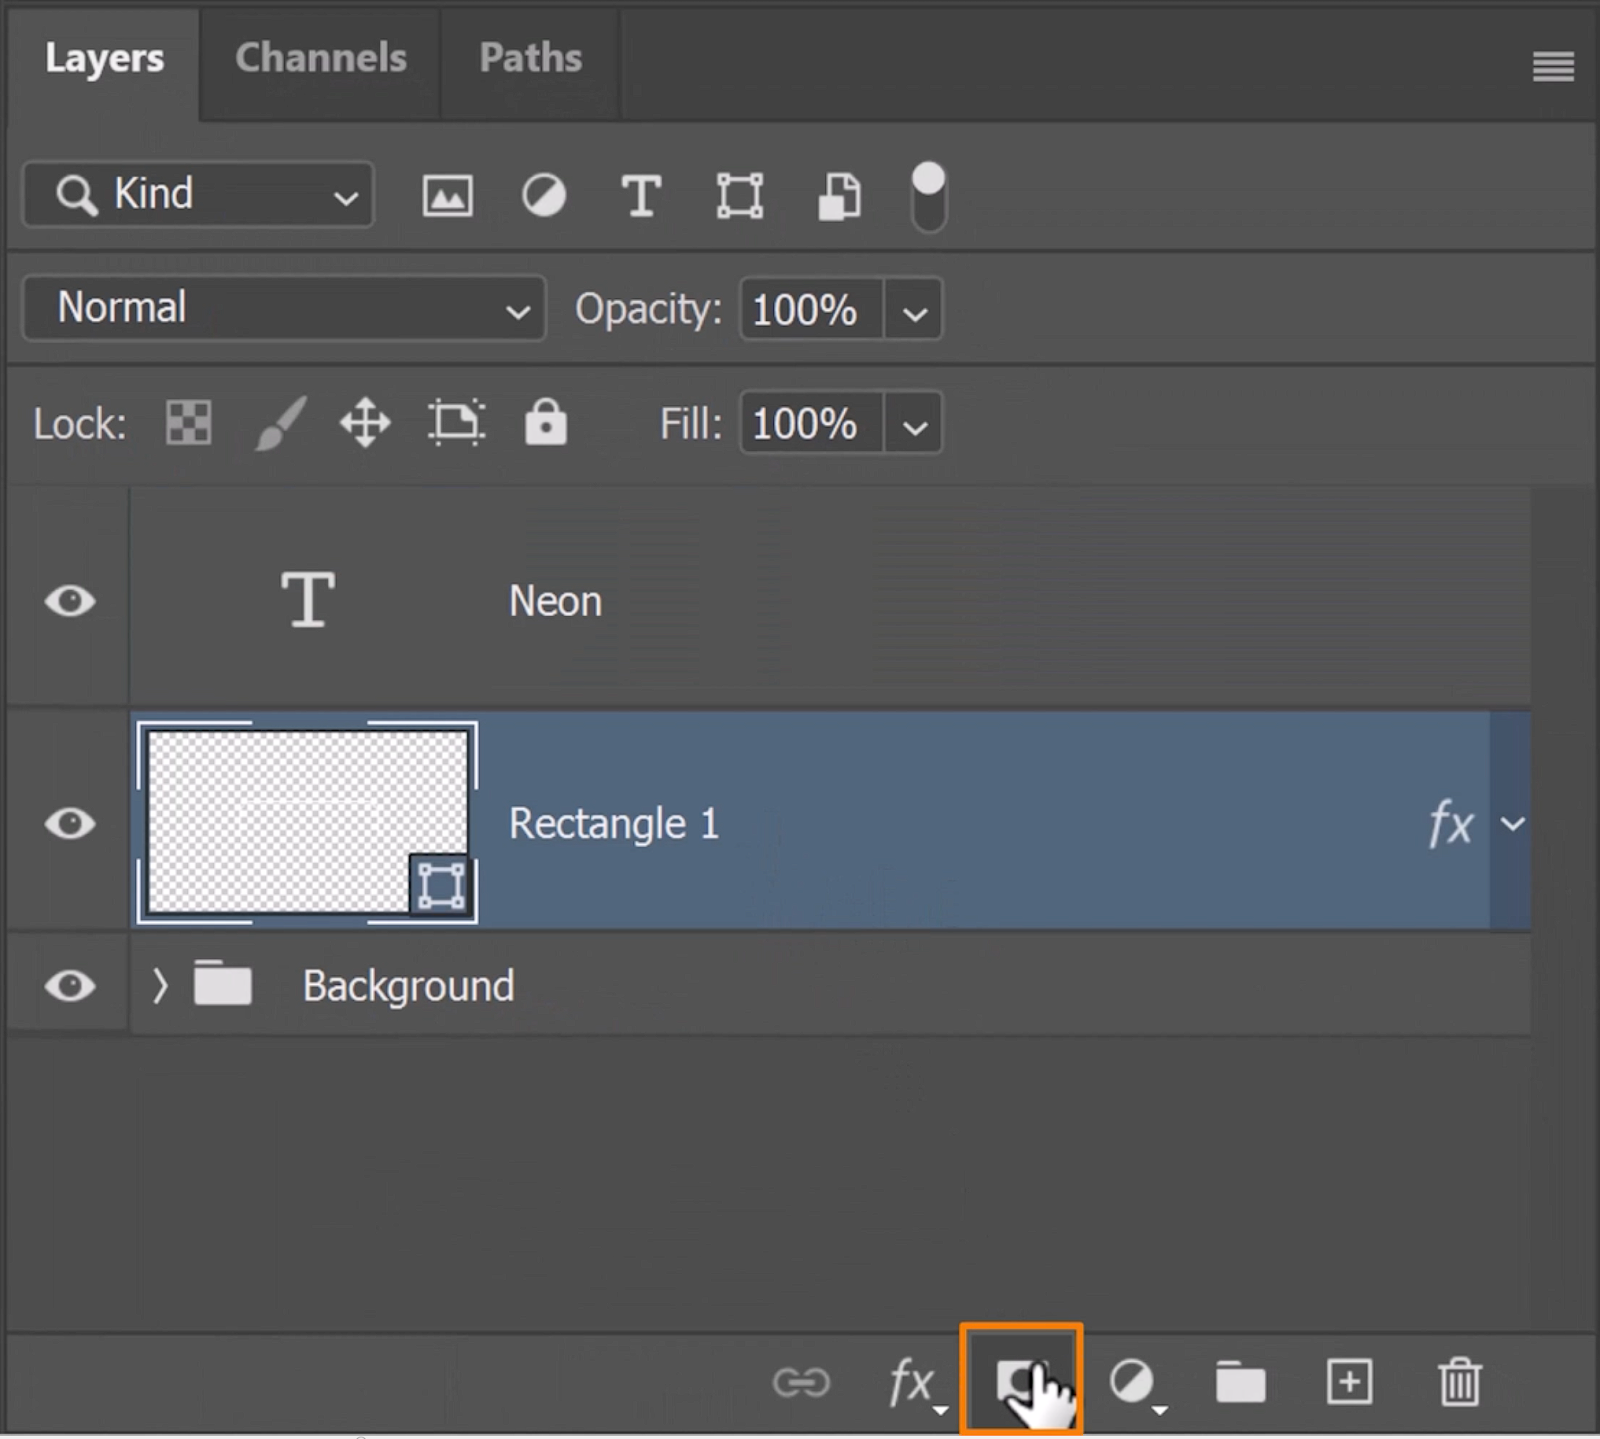
Step 05 – Mask Rectangle
Next, create a Layer Mask and go into the Brush Tool.
Make sure the Brush Tool has a regular Round Brush, Hardness, Flow, and Opacity set to 100.
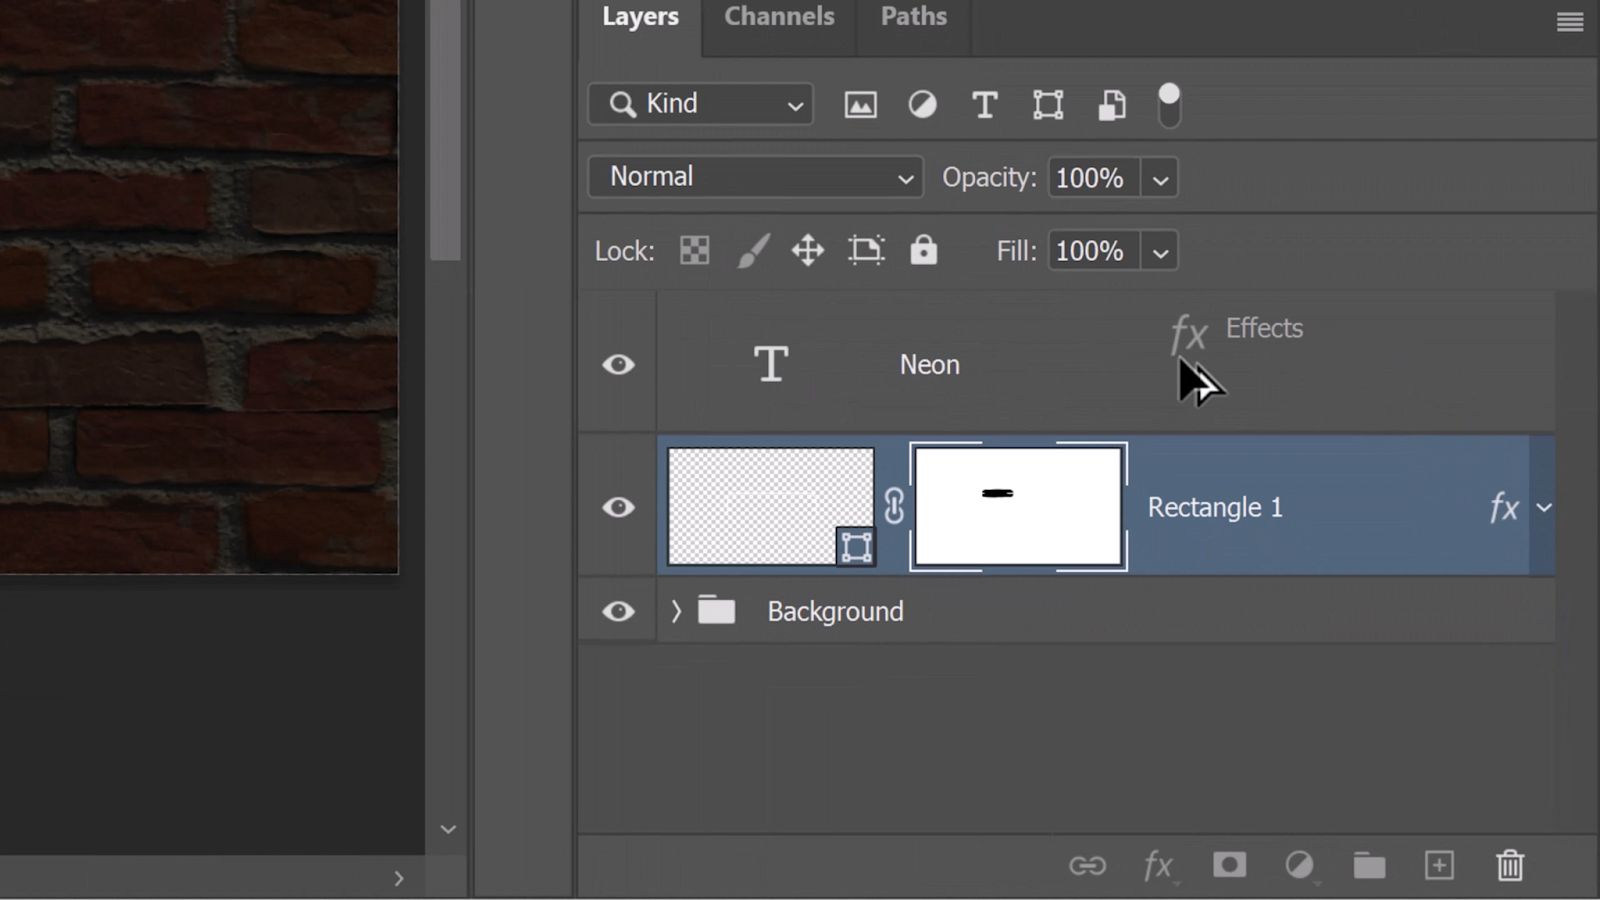
Use black to paint on the mask and hide some of the Neon sign from this part.


Use the left Bracket on the keyboard to reduce the brush size and make white your Foreground color to brush over the little details on the neon sign.


Step 06 – Copy Layer Styles & Edit Layer Styles
Then, copy the Layer Styles from the rectangle onto the word “Neon” by holding Alt (Windows) or Option (macOS) and click-and-drag the FX icon over onto the text layer.
Photoshop will apply the same effect to the text.

Next, make a few adjustments to make the text red.
Change the color of the Outer Glow to red and bring the Opacity down to 40%.
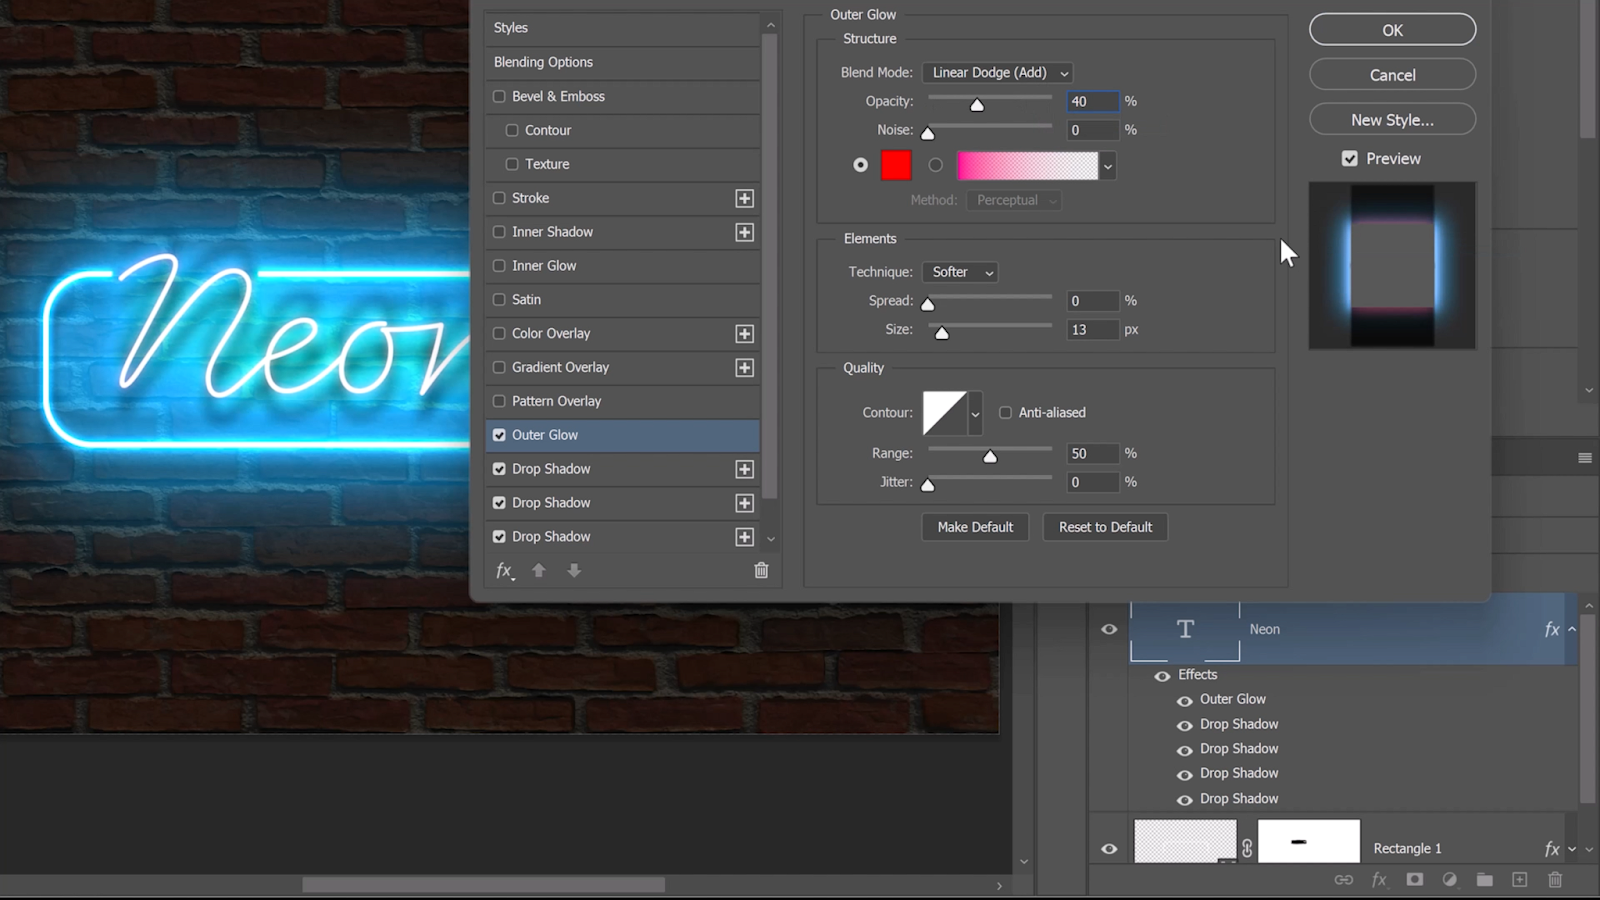
Change the color of the ambient color to red on the last two Drop Shadows.
Increase the Size to 250 px and Opacity to 100% of the top Drop Shadow.
Change the Size to 50 px and Opacity to 50% of the bottom Drop Shadow.
Press OK and collapse the Layer Styles.
You should have this result after applying the adjustments.

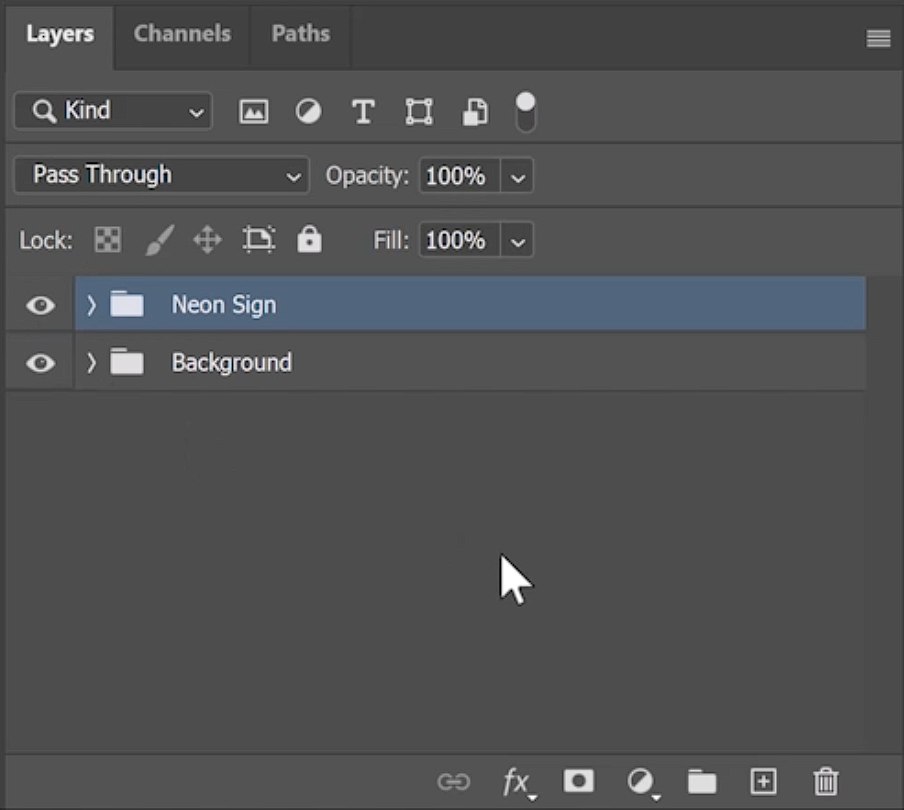
Put these two layers into a group by pressing Ctrl G (Windows) or Command G (macOS)
and calling it “Neon Sign” to keep everything organized.
Step 07 – Create Smoke/Atmosphere Layer
Finally, add more atmosphere to the image to make it look more realistic.
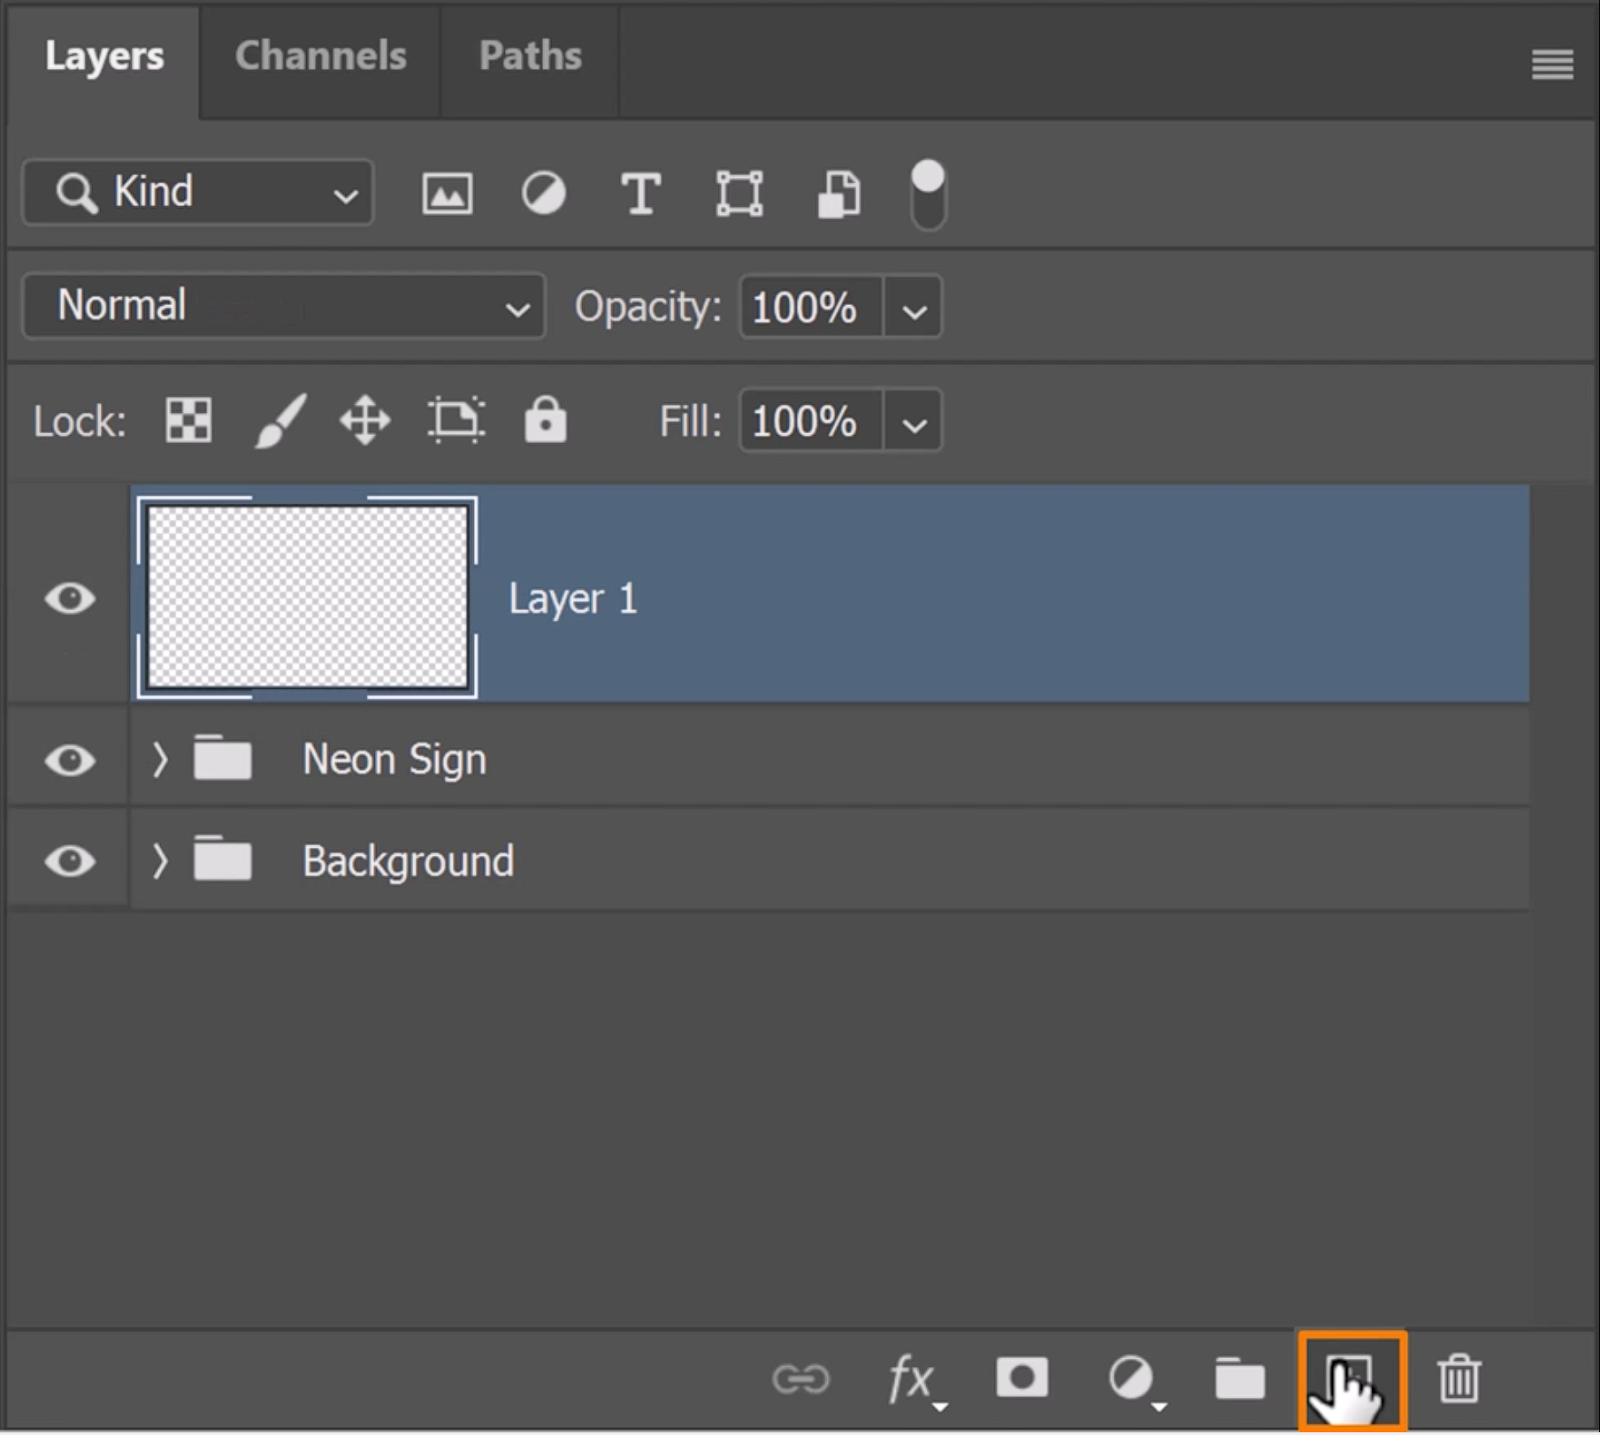
Create a new layer.
Go into Filter > Render > Render Clouds.

The Render clouds will create clouds based on your Foreground and Background color.

We want more contrast with the clouds. We can use a Curves Adjustment Layer or something similar.
But, here’s a trick. Go into Filter, Render, and hold the Alt key (Windows) or Option key (macOS)
and click on Render Clouds again to get more contrast on the clouds.

Change the Blending Mode to Linear Dodge (Add).

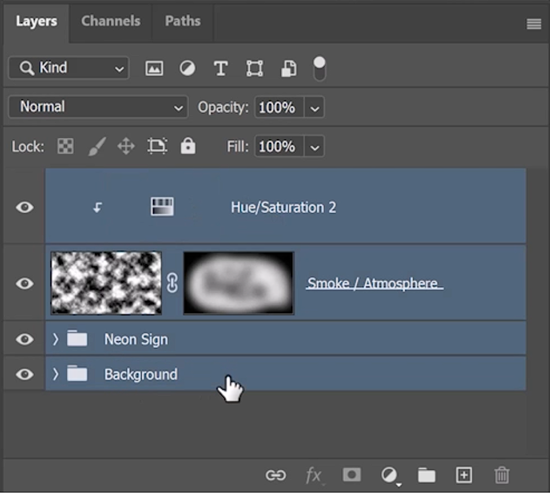
Add a Hue/Saturation Adjustment Layer.

Create a Clipping Mask by pressing Ctrl Alt G (Windows) or Command Option G (macOS)
to control the Smoke/Atmosphere layer.

In the Properties panel, check the Colorize box, adjust the Hue to 203, Saturation to 76, and Lightness to -82.

You can play around with these values to whatever you think will work best.
Select the Smoke / Atmosphere layer, hold Alt (Windows) or Option (macOS), and click on the Layer Mask icon to create an inverted mask which is black and it will hide everything on the layer.

Next, with your Brush Tool active, increase your Brush size, reduce the Hardness, Opacity, and Flow and paint with white some of the smoke back in on this mask.

This atmospheric effect helps sell the illusion of light emitting from the neon sign through the smoke outside the bar or maybe a foggy night, making it look more realistic.
Hold Shift and click on the top and bottom layers and right-click and select Convert to Smart Object to contain everything as a Smart Object.
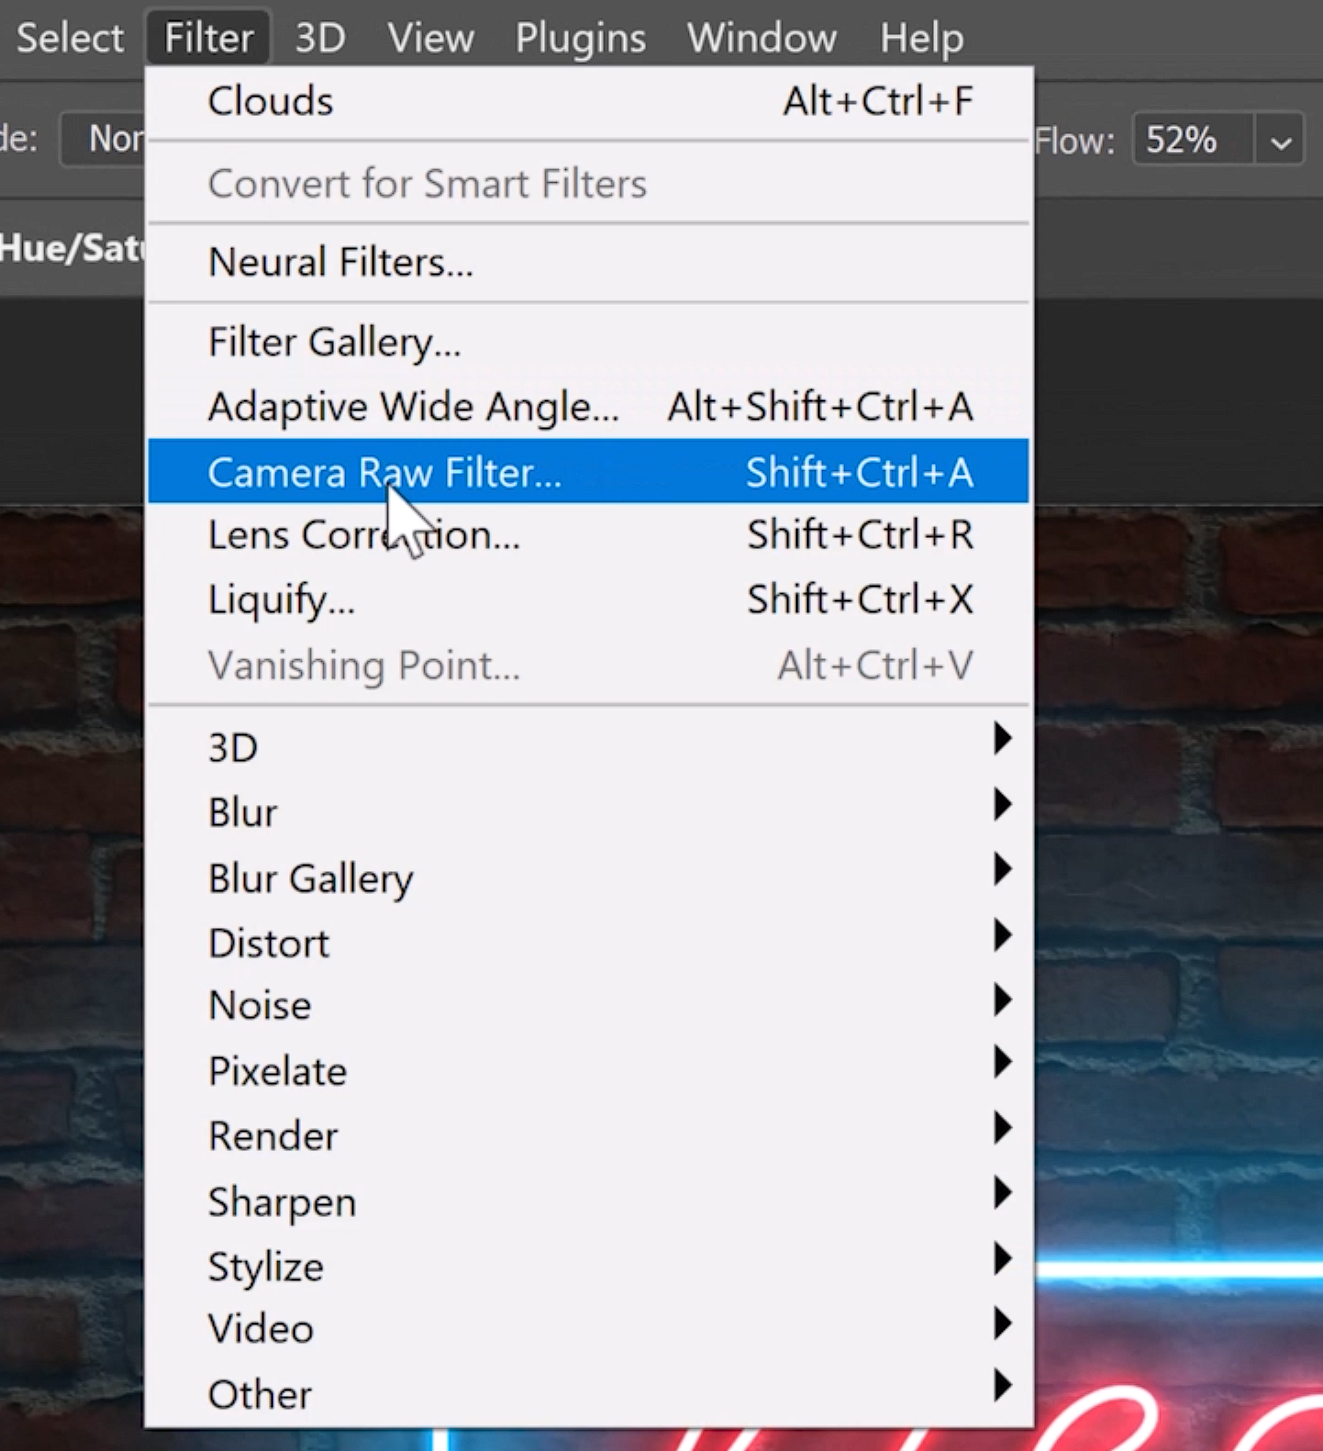
Step 08 – Apply Camera Raw Adjustments
Make your image pop by applying Camera Raw Adjustments!
Go into Filter and select Camera Raw Filter.
From here you can reduce the Temperature to make things look a little cooler, increase the Contrast, and adjust the Shadows and Highlights to make this image look more dramatic.

From the Effects panel, reduce the Vignetting slider just so we can focus on that neon sign.
We can also add a bit of Grain for a more textured feel.
From the Basics panel, you can also increase the Vibrance to increase the saturation of lowly saturated pixels.

In the Color Mixer, you can adjust individual colors to get your desired effect and Press OK.

Lastly, we’ll add Neon Sign Brackets for our last step.
Double-click on the Smart Object thumbnail, and it will open a new document tab.
You can make adjustments to the design, and it will update on the Smart Object.
Step 09 – Create the Neon Sign Brackets
Adding metal brackets to a neon sign can be a great way to add realism and depth to your design.
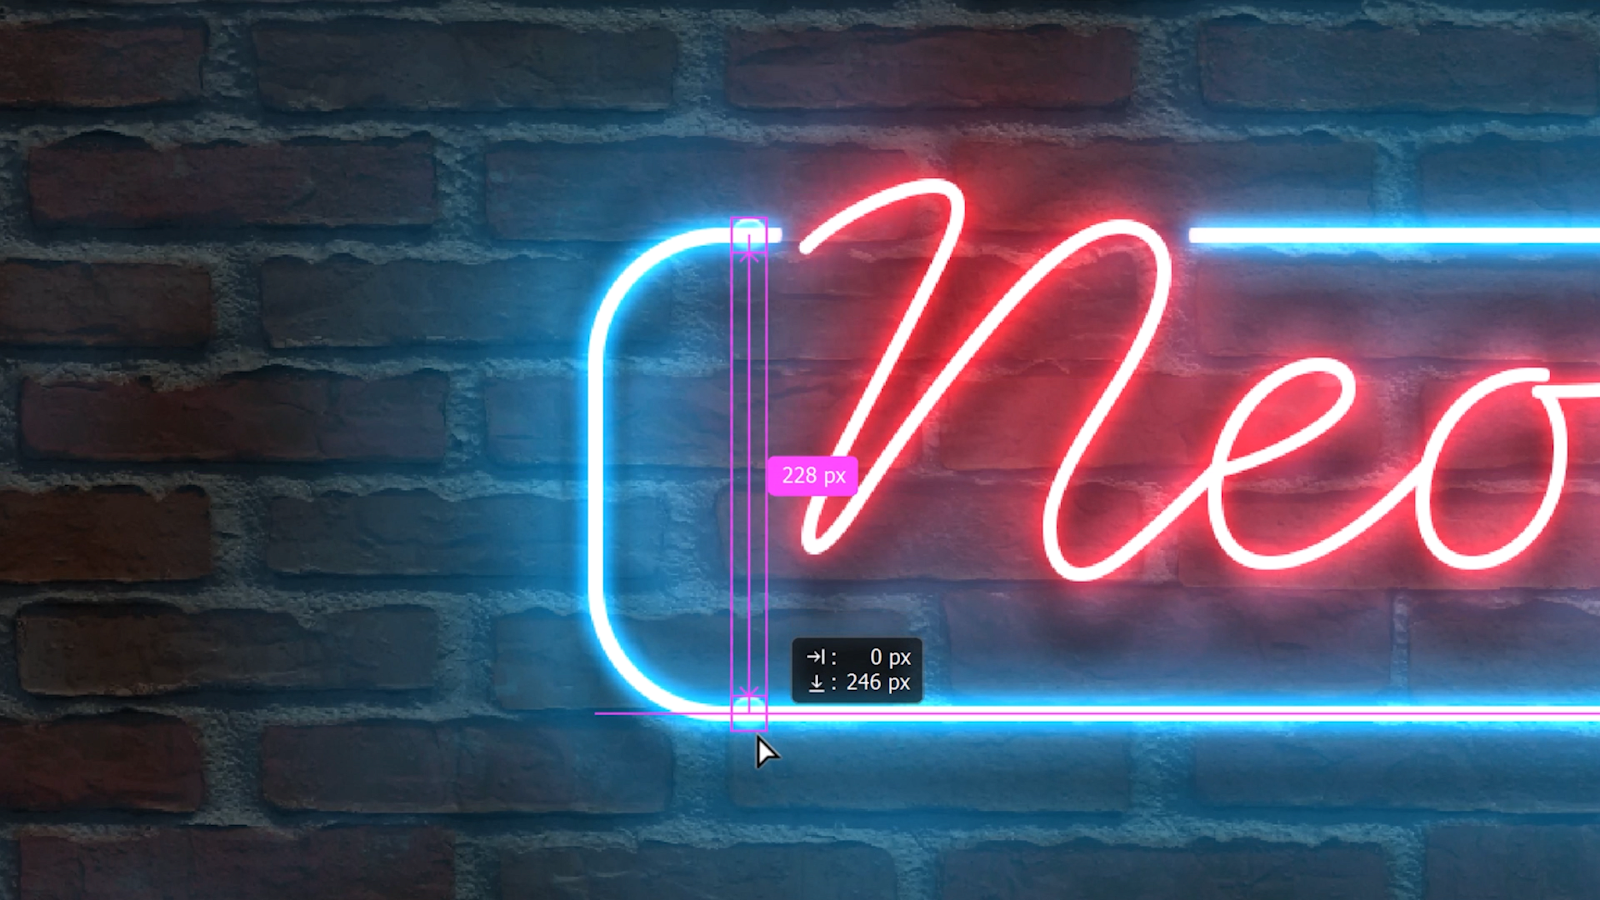
Select the Ellipse Tool from the toolbar.

Make a circle that is slightly larger than the neon sign.
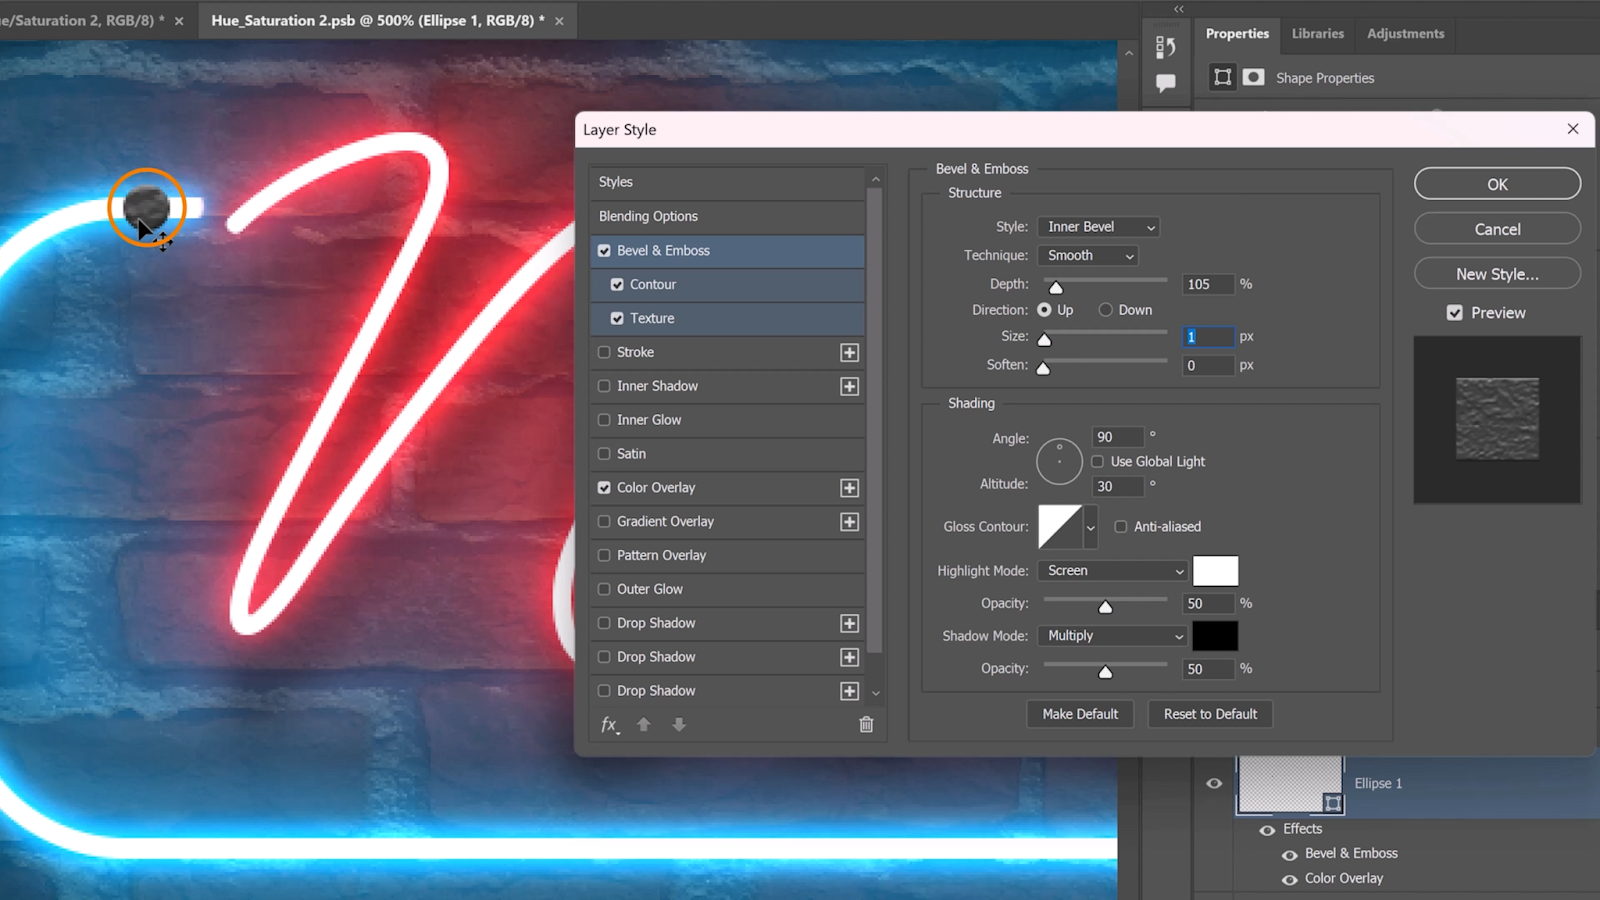
Double-click on the side of the layer and add a Bevel and Emboss effect.
Make sure to uncheck Global Light and adjust the contour to your liking.
Add Contour and adjust the Depth and Size.
Add a metal texture and select from the available patterns.
You can add a Color Overlay and change the color to a dark gray.
Adjust the depth of the texture to make it look more metal and to get your desired result.
Place the bracket behind the neon sign by holding Ctrl [ to move the layer down in the layer stack.
Place the bracket in the desired location and duplicate it by holding Alt
and dragging down or to right.

Continue duplicating and placing the brackets as desired.
To finish, press Ctrl + S to save and return to your working document.
The Camera Raw Filter adjustments will be applied to the final image.
And that’s it! You have successfully learned how to create a Realistic Neon Text Effect in Photoshop. Experiment with layer styles, colors, and settings to create unique and visually stunning designs. Remember, the key to creating great designs is to have fun and be creative!