A great technique to easily and quickly change a background in Photoshop! This technique works great with product shots with white backgrounds.
Changing your background product shot in Photoshop is almost like a superpower. You’ll learn advanced masking techniques in 3 minutes. But, first, let me show you how it’s done!
Follow These Easy Steps To Change a Background in Photoshop
Time needed: 3 minutes
How To Change a Background in Photoshop
- Select the Object
The first step is to select the headphones. Go into the Select menu and choose Subject.
This will use Artificial Intelligence, known as Adobe Sensei, to analyze the image and select the main subject.
![How To Change a Background In Photoshop [For Beginners!]](/wp-content/uploads/replace/398facaff2e3a3086c6b3eca75c79cec.png)
- Refine The Selection
The Select Subject command will often do an excellent job selecting the subject, but it’s not perfect. Refine your selection by subtracting the remaining white areas.
To do this, choose the Quick Selection Tool nested under the Object Selection Tool.
Then simply hold the Alt key (Windows) or Option key (macOS) and click-and-drag over the white area to subtract from the selection.
![How To Change a Background In Photoshop [For Beginners!]](/wp-content/uploads/replace/91bdf18412328343477691337a837466.png)
- Duplicate The Layer
To change a background in Photoshop consider keeping the original shadows to make the composite looks more realistic. To do so, we need to duplicate the layer.
You can go into Layer > New > Layer Via Copy.
![How To Change a Background In Photoshop [For Beginners!]](/wp-content/uploads/replace/419b0b17d3700f78f9c546a01151a329.png)
- Invert the Layer Mask
To bring the white background back, go into the black and white Layer Mask thumbnail of the original headphones layer. The white outline, which will appear around the Layer Mask thumbnail, indicates that this layer mask is active.
Then invert the Layer mask so that the headphones are now hidden and the background is revealed. You can do so in one of two ways. You can press Ctrl I (Windows) or Command I (macOS) or go into Image > Adjustments > Invert.
![How To Change a Background In Photoshop [For Beginners!]](/wp-content/uploads/replace/8bc4ac4c0613cf14e743e32158336cd4.png)
- Set The Blending Mode to Multiply
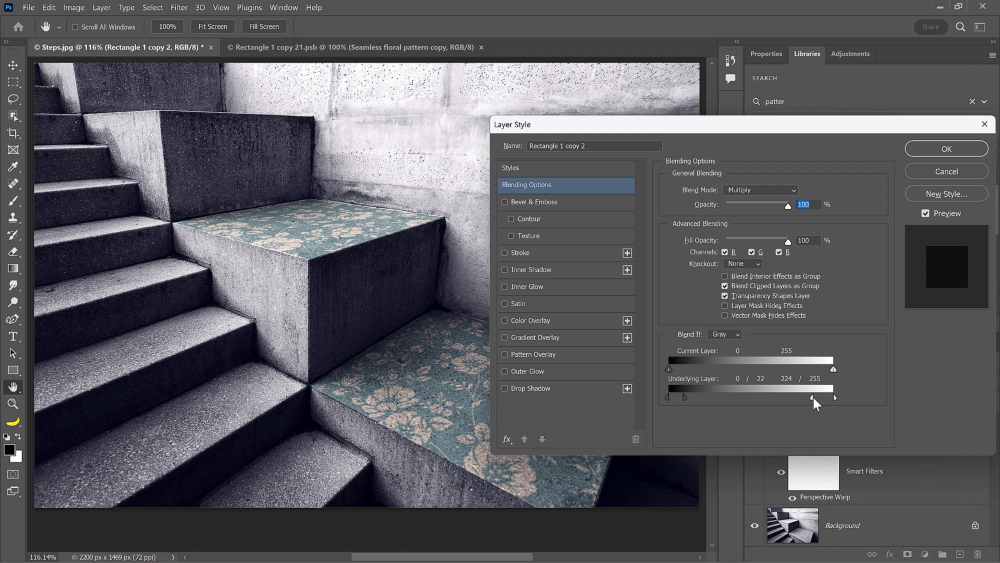
Next, hide the white pixels of the background and only keep the dark tones to reveal the headphone’s shadow. To do so, we can use Blending Mode.
Go into the Blending Mode dropdown and choose Multiply. The Multiply Blending Mode hides the white pixels and keeps the darker ones.
![How To Change a Background In Photoshop [For Beginners!]](/wp-content/uploads/replace/459673fd26efcd4aaf5d1d76a9c2d920.png)
- Create a Levels Adjustment
Next, we will create an adjustment layer to control the intensity of the shadow.
Go into the New Adjustment Layer icon and choose Levels.
![How To Change a Background In Photoshop [For Beginners!]](/wp-content/uploads/replace/89a071b311a0edcc890f65bca666380f.png)
- Clip It To The Layer Below
Then, from the Properties panel, make sure that you click on the Clipping Mask icon.
This down-pointing arrow indicates that this adjustment layer will only affect the layer directly below it.
![How To Change a Background In Photoshop [For Beginners!]](/wp-content/uploads/replace/69e939f9ebec6d9f86b0b39dab649f57.png)
- Use The Levels Adjustment to Control the Shadow Intensity
From the Properties panel, click and drag on this Gamma slider. Use the slider in the center to control the intensity of the shadow.
For example, you can set it to about 0.65 to darken the shadow to make it more visible on the surface of the wooden table.
![How To Change a Background In Photoshop [For Beginners!]](/wp-content/uploads/replace/a46c3d29bb0be63c701b62812123fde1.png)
Your Turn!
This technique works well on product photos with a white background where you want to use the original shadow on the new background.


