In this tutorial, you will learn how to remove color casts and fix photos with bad lighting in Photoshop.
We will use Neural Filters in an unconventional way.
This method works great with old photos, portraits, or any photo with poor lighting or an unwanted color cast. Let’s do it!
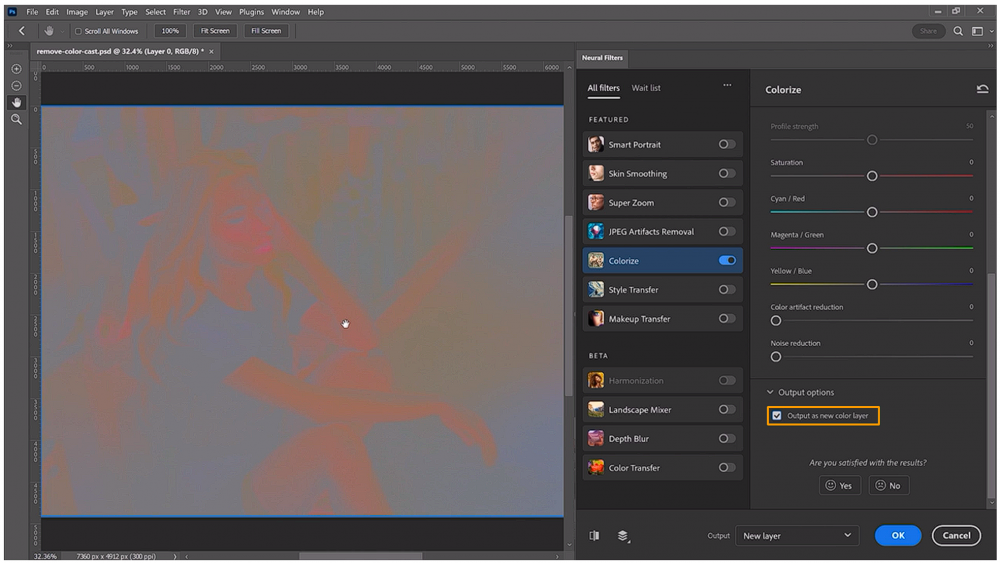
Step 01 – Apply Colorize Neural Filter
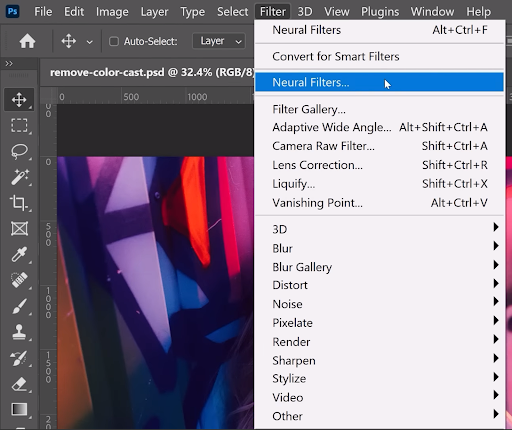
Go into the Filter menu and choose Neural Filters. These filters use machine learning technology called Adobe Sensei to create effects.
The Colorize Neural Filter colorizes black and white images, but it can also be used to fix photos with lighting in Photoshop.
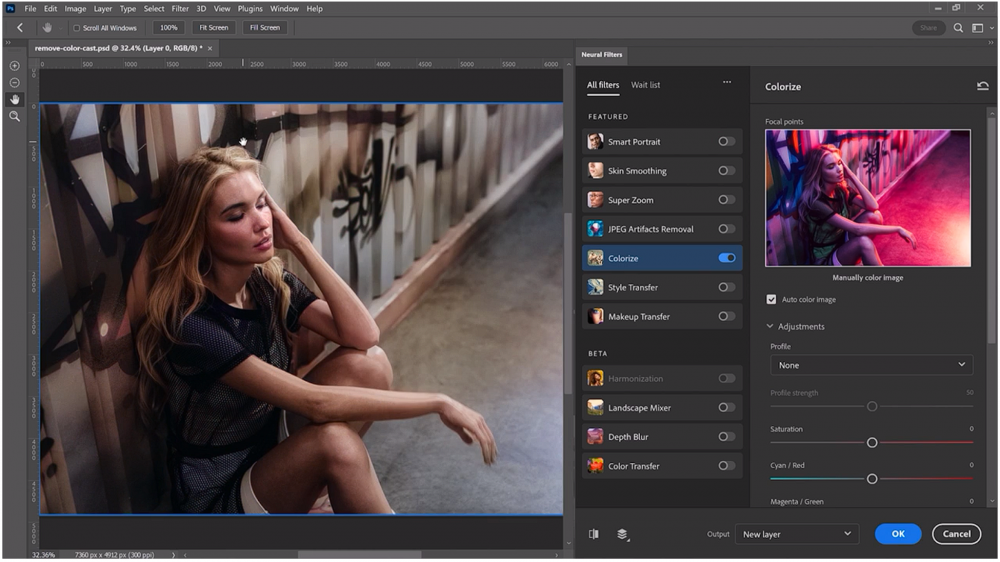
The results are amazing! But there are a few imperfections we need to fix.
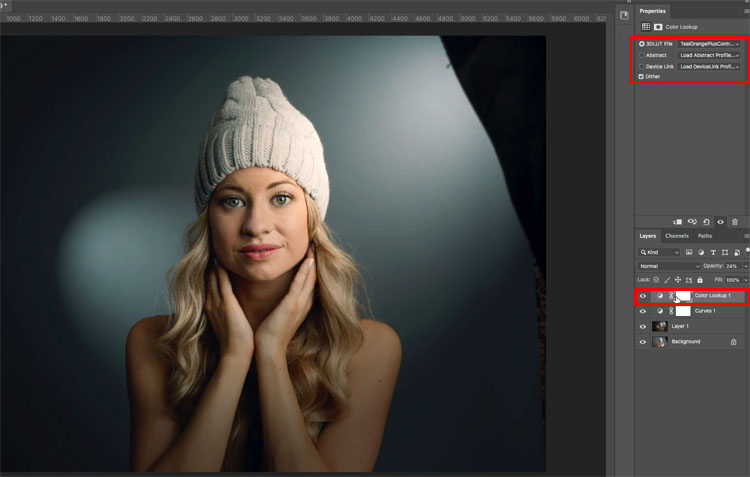
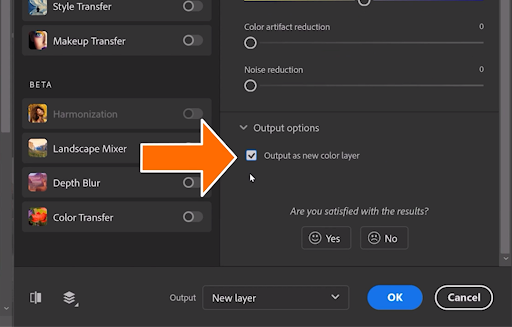
Step 02 – Create Output as New Color Layer
Check the “Output as New Color Layer” box.
This is the output that we’re aiming for. A layer with just the color information.
Then under Output options, select New Layer and OK.
The generated layer will have the Blending Mode set to Color which will colorize the layer below.
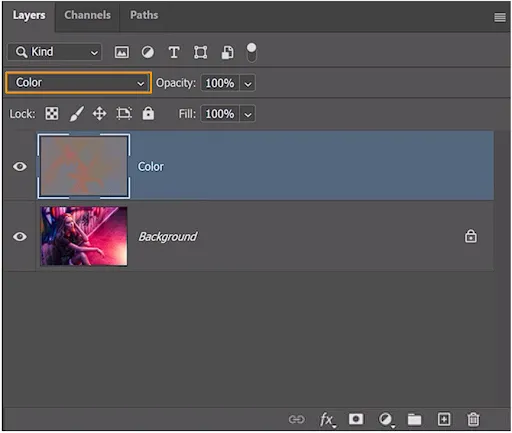
Step 03 – Create New Layer and Clip It to the Layer Below
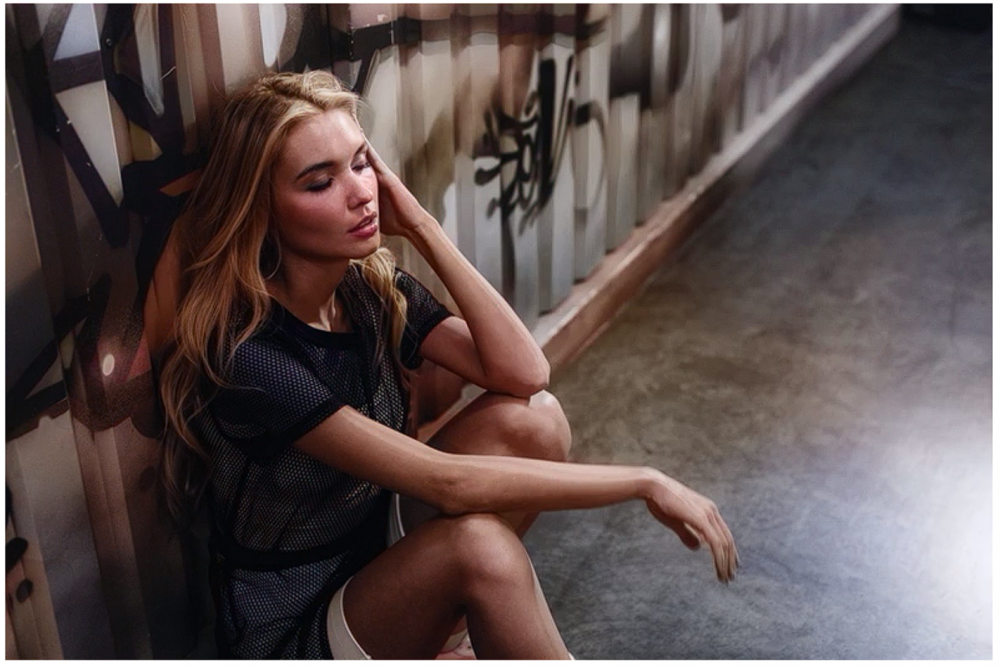
After you fix photos with bad lighting in Photoshop using the Neural filter, you will need to fix imperfections. Notice that the A.I. did not apply the right color on her shirt, and it missed the skin tone on her arms.
To fix these issues, create a New Layer.
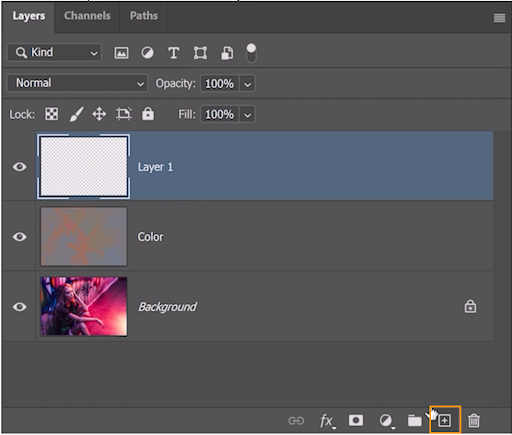
“Clip It” to the layer below by pressing Ctrl Alt G (Windows) or Command Option G (macOS).
A Clipping Mask allows the layer below to control the opacity and Blending Mode
of the selected layer.
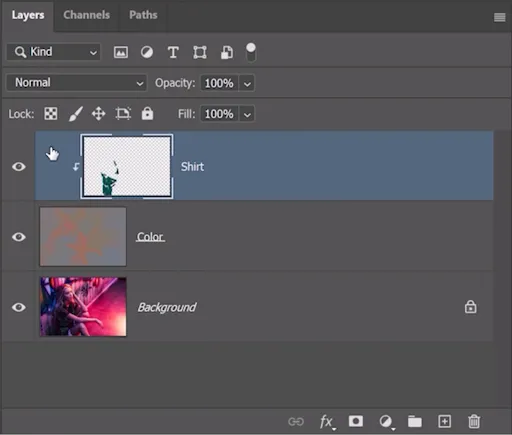
Step 04 – Start Painting Using the Brush Tool
Next, we need to paint the green shirt back in.
Start by clicking on the Eye icon to disable the Color layer.

Select the Brush Tool by pressing B and holding the Alt key (Windows) or Option Key (macOS) to temporarily enable the Eyedropper Tool.
Click on the shirt to make the foreground color green.

Then, enable the Color Layer and paint over the shirt to make it green.
This shirt layer is clipped to the Color layer below. You don’t have to worry about changing the Blending Mode to Color. Photoshop will treat all clipped layers as one.
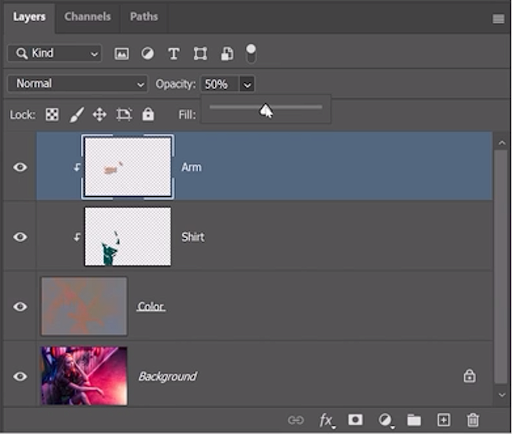
You can then repeat this process for areas that need work, like her skin. But do it on a separate layer to maintain control of individual pieces.
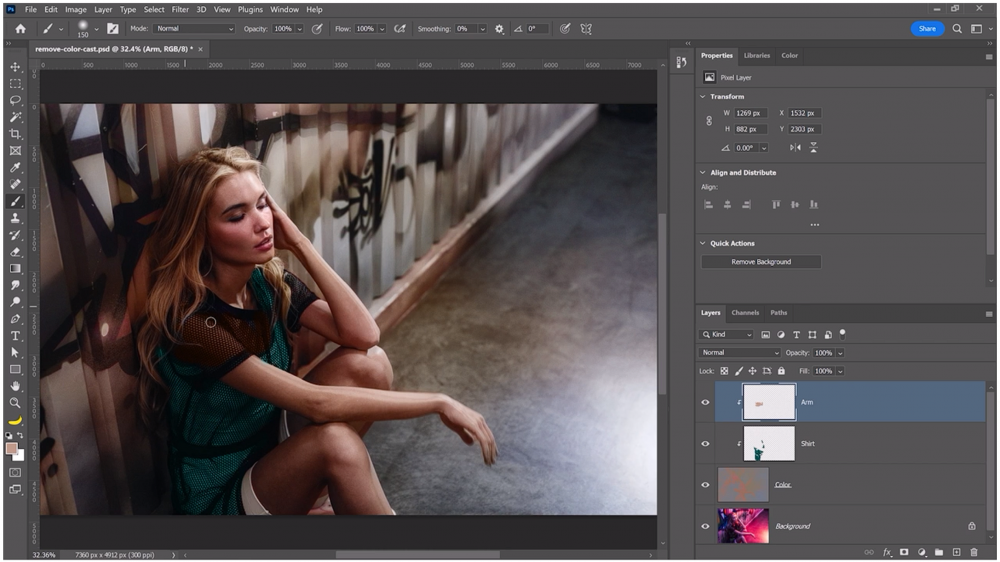
You may want to reduce the opacity of her skin color layer to get the right color and saturation.
There you go! Now you know how to fix bad lighting in Photoshop using this method.
Give it a try!