I am showing you the steps here, because this is a hands on style of edit, you should really watch the video above first.

1.
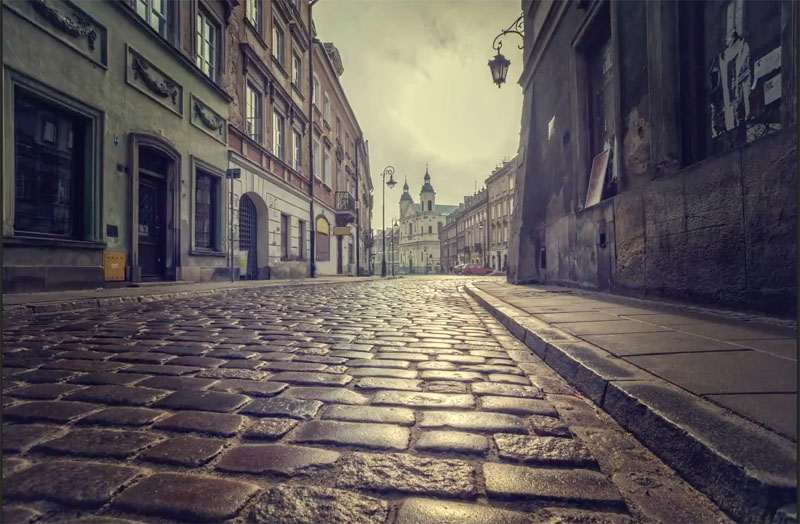
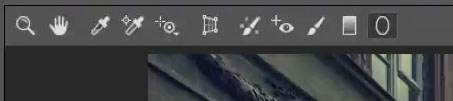
Choose Filter>Camera Raw Filter (If you are on CS6, right click in bridge and open in Camera Raw)
Click on the Radial filter from the toolbar
2.
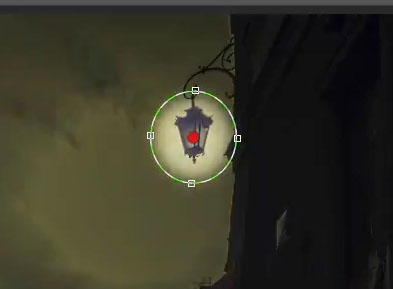
Drag to create a circle with the Radial tool
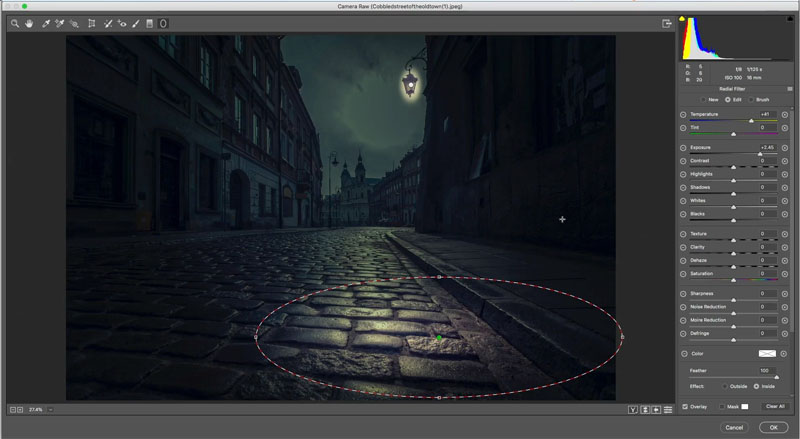
3.
At the bottom of the adjustment panel, choose outside, so the adjustment works outside the oval.
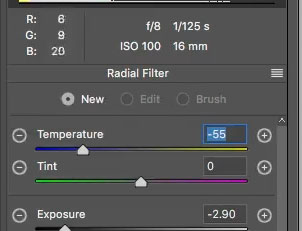
Lower exposure to darken and move color temperature to the left to make the color cooler (blue) so it looks like nighttime.
4.
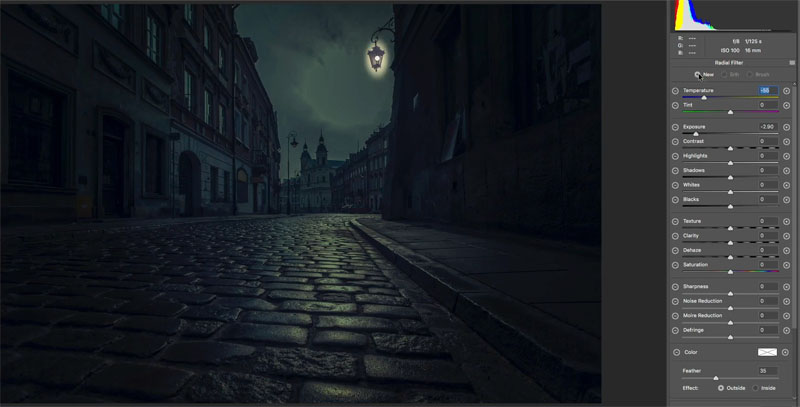
Choose the radial tool again (click new, from the top of the adjustment panel to add a new adjustment)
Under effect at the bottom of the panel Change to inside.
Turn up the exposure so you are making it lighter.
Also change temperature to more yellow.
Drag out to create a pool of light.
5.
With the same settings, drag out another pool of light.

6.
Keep adding ovals to look like pools of light that would be under street lights and windows.
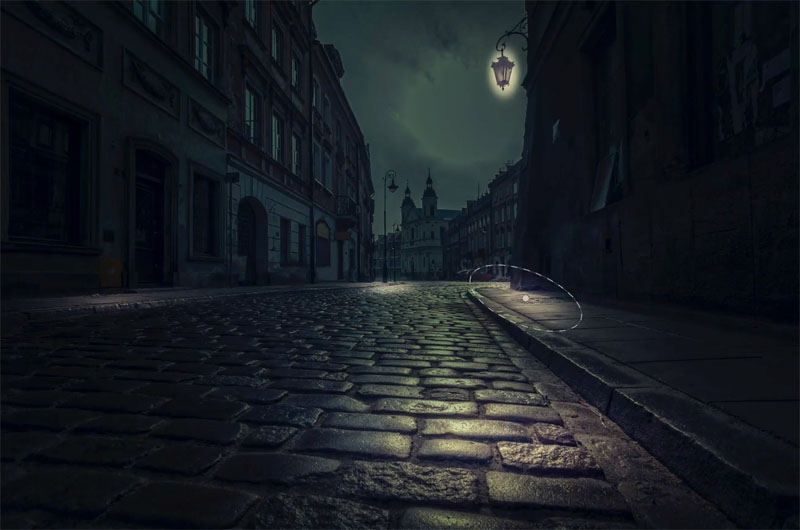
7.
Using the same method, start to add some light up the walls on the buildings. Don’t be afraid to change the sliders to make the brightness and color look the way you want.
8.
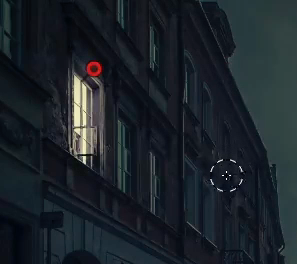
Choose the adjustment brush.
![]()
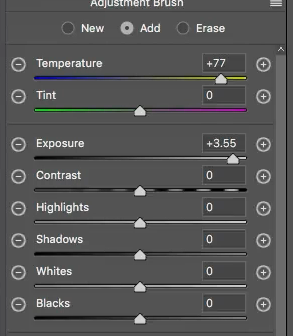
9.
Make the settings to its bright and warm
Temperature +77
Exposure +3.55
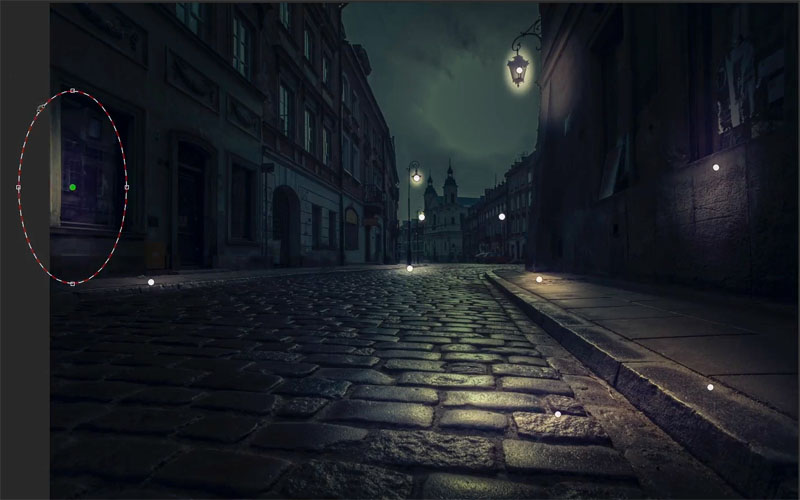
10.
Paint in the window to light it up. This is fun!
11.
Keep lighting windows and lamps with the adjustment brush.
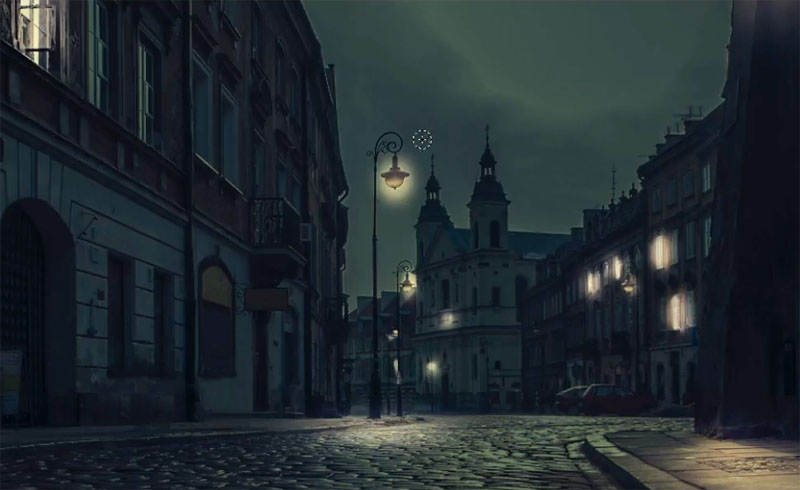
When you are happy click ok.

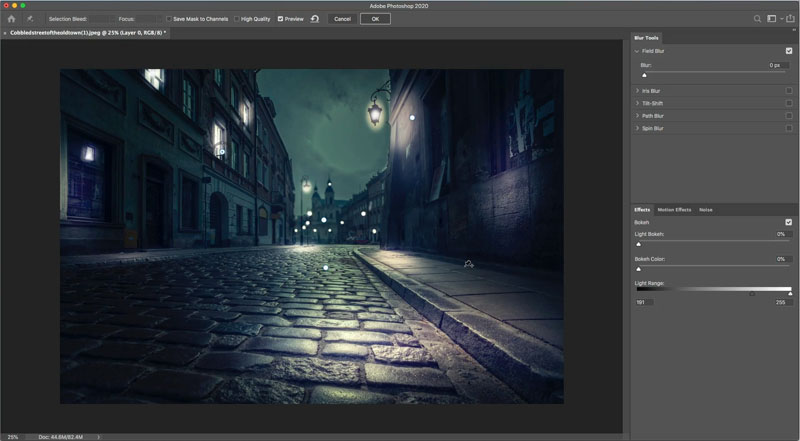
Step 12. Adding bokeh lights
This is a fun things to do to get realistic bokeh (When the out of focus light creates circle in the shape of the camera aperture).
Create a new layer on top and fill with black (D key resets colors. Ctrl/Cmd+Delete fills with foreground color).
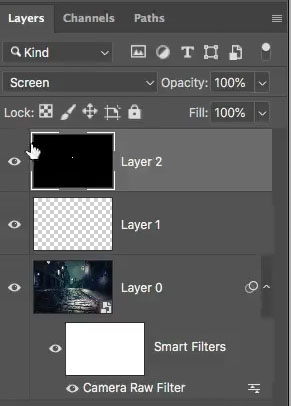
13.
Choose a small white brush (B is brush tool).
Tap to add dots of light in the distance where the street lamps are.
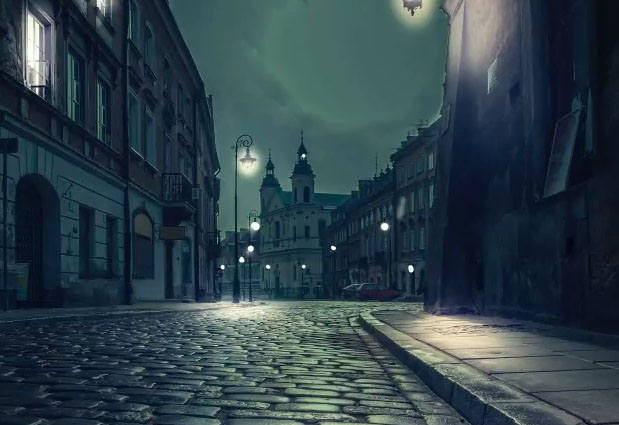
14.
Here is one you probably don’t expect. Choose Filter>Blur>Lens Blur
Under Iris change the radius and also play with the specular highlights until they are looking the way you want.
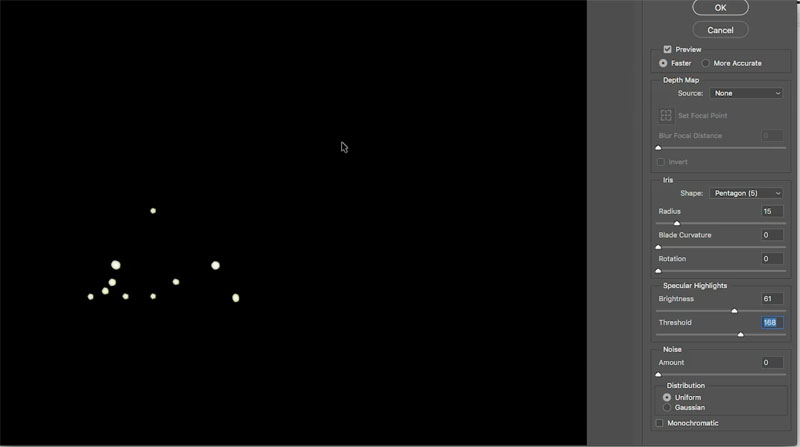
Click ok and you now have super realistic bokeh.
There are some other thimgs on the video that show you additional thing, but these are the basics.
I hope you enjoy.